All about HTTP in node.js and 3 best ways for handling HTTP/HTTPS requests
Another core module of Node.js! HTTP interface is similarly low-level when compared with frameworks or languages such as PHP in order to keep it fast and flexible.
It is one of the four main core modules in node.js:
• net / require(‘net’): provides the foundation for creating TCP server and clients
• dgram / require(‘dgram’): provides functionality for creating UDP / Datagram sockets
• http / require(‘http’): provides a high-performing foundation for an HTTP stack
• https / require(‘https’): provides an API for creating TLS / SSL clients and servers

Here, http module has its main function , createServer , which takes a callback and returns an HTTP server. On each client request, the callback is passed in two arguments — the incoming request stream and an outgoing server response stream.
To start the returned HTTP server, simply call its listen function passing in the port number you want to listen on.
var http = require('http');var server = http.createServer(function (request, response) {
console.log('request starting...');// respond
response.write('hello client!');
response.end();
});server.listen(3000);
console.log('Server running at http://127.0.0.1:3000/');
By running code
node filename.jswould simply start the server using node.js
Headers in Node.js
You all have seen or heard GET and POST requests, as they are inclusive parts of headers in node.js
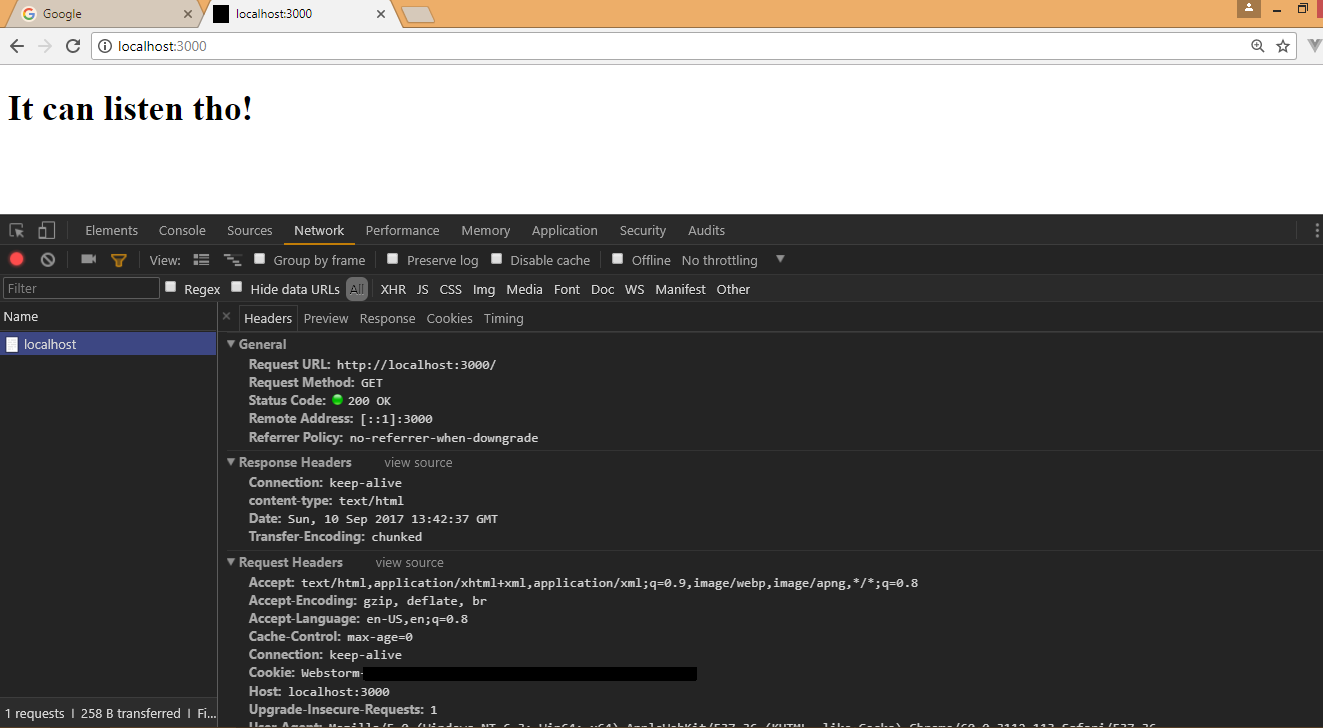
After running above code snippet of node, you can see in browser that it is listening on localhost:3000.
Open dev tools and open network tab in that pane. Click on localhost file and you can see its headers part! That’s how we can see file’s headers based on request and response.
You can explicitly queue any HTTP header in the response using the response.setHeader(name, value) member function. One common header that you need to set is the Content-Type of the response so that the client knows how to interpret the data the server sends in the body. For example, if you are sending down an HTML file to the client, you should set the Content-Type to text/html, which you can with the following code:
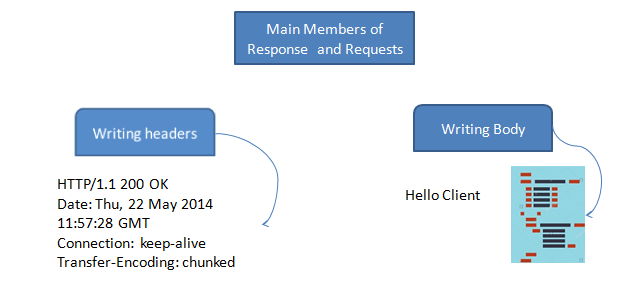
response.setHeader(“Content-Type”, “text/html”);When you want to explicitly send the headers (not just queue them) and move the response into body only mode, you can call the response.writeHead member function. This function takes the status code along with optional headers that will be added on to any headers you might have already queued using response.setHeader. For example, here is a snippet that sets the status code to 200 and sets the Content-Type header for serving HTML:
response.writeHead(200, { 'Content-Type': 'text/html' });Thus we can conclude that as shown in image:
When you accidentally change URL of server to get respective file then,
404 error occurs which mentions as resource which we were trying is not loaded or unable to get.

3 Best ways to make HTTP requests in node.js
1. The standard way — HTTP
To use the HTTP server and client one must require('http').
The HTTP interfaces in Node.js are designed to support many features of the protocol which have been traditionally difficult to use. In particular, large, possibly chunk-encoded, messages. The interface is careful to never buffer entire requests or responses — the user is able to stream data.
HTTP message headers are represented by an object like this:
//The following code will send a GET request to NASA’s API and print out //the URL for the astronomy picture of the day as well as an explanation:const https = require('https');https.get('https://api.nasa.gov/planetary/apod?api_key=DEMO_KEY', (resp) => {let data = '';// A chunk of data has been recieved.resp.on('data', (chunk) => {data += chunk;});// The whole response has been received. Print out the result.resp.on('end', () => {console.log(JSON.parse(data).explanation);});}).on("error", (err) => {console.log("Error: " + err.message);});
Much of the HTTP, and the HTTPS, module’s functionality is fairly low-level. You’re required to receive response data in chunks rather than just providing a callback function to be executed as soon as all of the data is received. You also need to parse the response data manually. This is fairly trivial if it is JSON formatted, but it is still an extra step.
One other problem is that this module does not support HTTPS by default, so we need to require the https module instead if the API we are using communicates over HTTPS.
It may take a bit more effort to get the data you want, but is a great utility if you don’t want to add too many dependencies to your codebase or want access to its low level functionality.
2. Request — the npm module
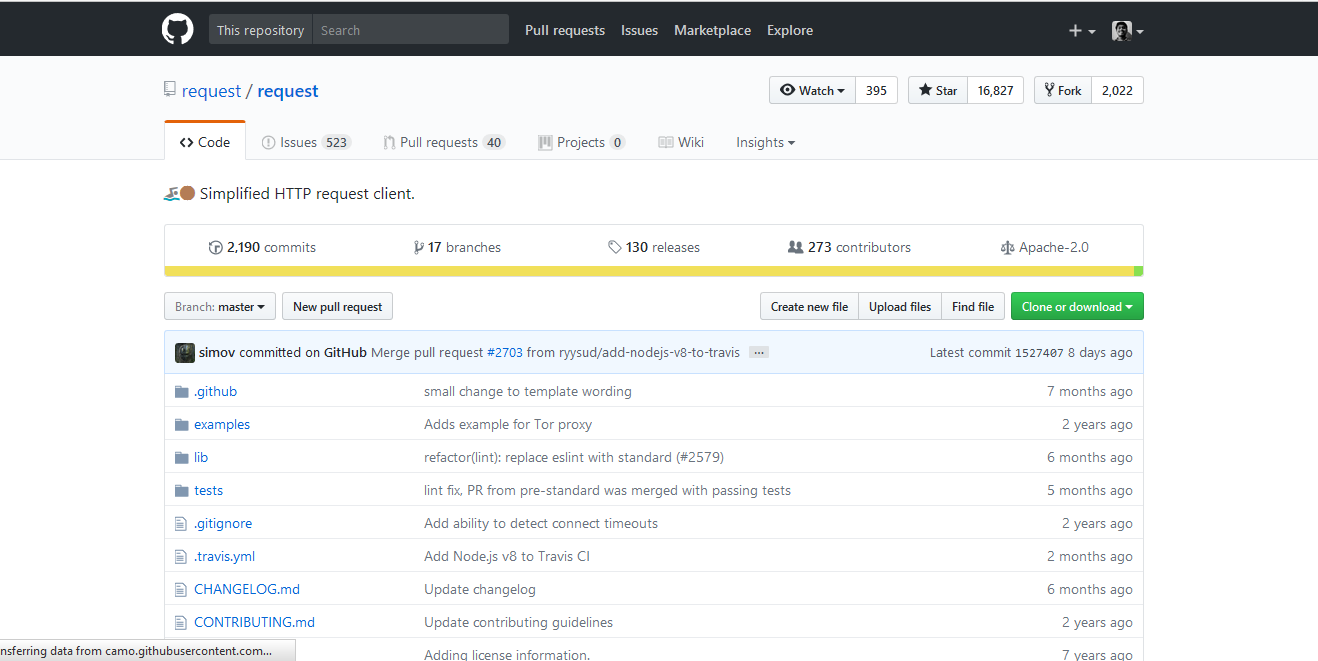
You can look at request’s github repo — https://github.com/request/request
Request is a simplified HTTP client comparable to Python’s requests library. This library is much more user friendly than the default http module and has been considered a go-to for the community for several years.
Its a fantastic option if you just want an easy to use library that deals with HTTP requests in a sane way. If you want to use Promises, you can check out the request-promise library.
Run this for installing npm package of request.
npm install request
const request = require('request');request('https://api.nasa.gov/planetary/apod?api_key=DEMO_KEY', { json: true }, (err, res, body) => {if (err) { return console.log(err); }console.log(body.url);console.log(body.explanation);});
3.Axios — Promise based HTTP client for the browser and node.js
Github Repo — https://github.com/mzabriskie/axios
I use axios often specially in my front-end projects for React.js and Vue.js . It easily integrates with firebase.

Axios is a Promise based HTTP client for the browser as well as node.js. Using Promises is a great advantage when dealing with code that requires a more complicated chain of events. Writing asynchronous code can get confusing, and Promises are one of several solutions to this problem. They are even useful in other languages such as Swift. To install it -npm install axios
const axios = require('axios');axios.get('https://api.nasa.gov/planetary/apod?api_key=DEMO_KEY')
.then(response => {
console.log(response.data.url);
console.log(response.data.explanation);
}).catch(error => {
console.log(error);
});
A Little stuff about express and connect- the middleware for plugins
Here’s my best shot at explaining it:
- Node.js itself offers an http module, whose
createServermethod returns an object that you can use to respond to HTTP requests. That object inherits thehttp.Serverprototype. - Connect also offers a
createServermethod, which returns an object that inherits an extended version ofhttp.Server. Connect's extensions are mainly there to make it easy to plug in middleware. That's why Connect describes itself as a "middleware framework," and is often analogized to Ruby's Rack. - Express does to Connect what Connect does to the http module: It offers a
createServermethod that extends Connect'sServerprototype. So all of the functionality of Connect is there, plus view rendering and a handy DSL for describing routes. Ruby's Sinatra is a good analogy. - Then there are other frameworks that go even further and extend Express! Zappa, for instance, which integrates support for CoffeeScript, server-side jQuery, and testing.
Here’s a concrete example of what’s meant by “middleware”: Out of the box, none of the above serves static files for you. But just throw in connect.static (a middleware that comes with Connect), configured to point to a directory, and your server will provide access to the files in that directory. Note that Express provides Connect's middlewares also; express.static is the same as connect.static. (Both were known as staticProvider until recently.)
That was I had prepared for this particular topic of HTTP in node.js.
HUSTLE ON!
Resource — https://nodejs.org/api/http.html , https://www.twilio.com/blog/2017/08/http-requests-in-node-js.html , https://www.npmjs.com/package/connect