Audio streaming in React-Native using Amazon S3 and Cloudfront
We recently built Trixie — A personal meditation assistant in react native.
It lets you chat with a bot, and the bot will suggest you meditation sessions according to your mood, time of the day etc. Or you can select directly from of mindfulness library and listen to a session.
Trixie is available on both iOS and Android.
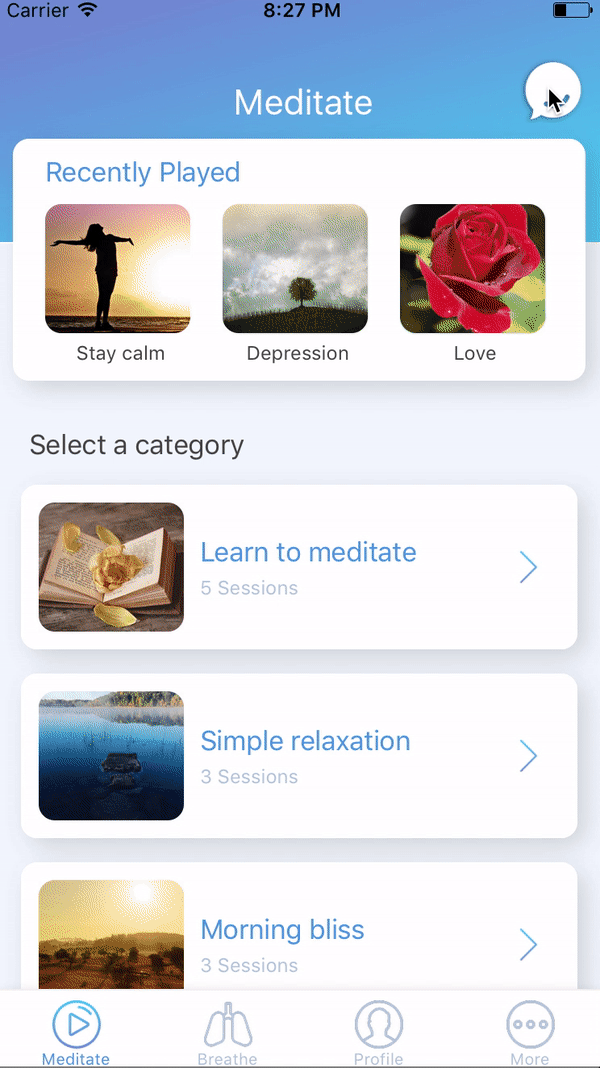
Here is how Trixie looks like.

Following are the steps we used to implement audio streaming in our app
Steps that failed
Just a quick look on the things we tried an failed. Initially, we implemented file download instead of streaming. We used the react-native file system to download the file from s3 URL, store it locally and then play it using react-native-sound.
Pros: One-time action, from the next time it plays from local storage
Cons: Initial download time was huge for slower connections and this affected the experience terribly.
Audio Streaming
We tried different packages for streaming. The first two we tried where
- react-native-audio-streaming — Lack of design customisation and callbacks.
- react-native-streamer
But the final one that we tried out proved to be the best option in terms of performance. The streaming time was better.
The detailed API documentation can be found here.
Steps to implement
- Install library via npm
npm install --save react-native-audio-toolkit - Follow the link to setup the package for different platforms.
- Include the JavaScript library
import {
    Player,
    MediaStates
} from 'react-native-audio-toolkit';- Create player object
this.player = new Player(remoteS3Url);- Prepare and play
this.player.prepare((err) => {
      var seconds = this.player.duration / 1000; //duration is in milliseconds
      this.setState({TotalTime: seconds});
    });
    this.player.play(() => {
      this.setState({IsPlaying: true});
    });
}- Pause and stop
this.player.pause();
this.player.stop(); // use destroy() to stop playback and destroy the player- Seek
In the below example i’m forwarding and rewinding 10 seconds.
forward() {
     if (!this.player) {
       return;
     }     let position = 1000 * 10 + this.player.currentTime;     this.player.seek(position, () => {
       this.setState({timeRemaining: (this.state.TotalTime -    this.player.currentTime / 1000)});
     });
}backward() {
     if (!this.player) {
       return;
     }     let position =  this.player.currentTime - 1000 * 10;     this.player.seek(position, () => {
       this.setState({timeRemaining: (this.state.TotalTime - this.player.currentTime / 1000)});
     });
}
Even with this, the streaming time was not up to the mark.
That’s why we decided to implement Cloudfront. Amazon CloudFront is a global content delivery network (CDN) service that securely delivers data, videos, applications, and APIs to your viewers with low latency and high transfer speeds.
Setting up a Cloudfront distribution
Cloudfront distribution is created around an Amazon S3 bucket.
Rather than writing too much about it — here is a video that I followed, and easily sets up a Cloudfront distribution.
The latency and streaming time has become a lot better after Cloudfront implementation. Still not the best and there is a lot of room for improvement.
Do not forget to give a shot at Trixie. Sign up and tweet or DM us with the code word ReactFanatic to get two months access to premium content for free! 😍
You can also find us on Facebook.
If you liked the post please clap and share.