Build a File Metadata App in Electron
In this tutorial, we will build a simple file metadata app in Electron, covering creating the main process, browser processes and how to use inter-process communication to send data between them.
Prerequisites
I’m assuming you’ve read the previous tutorial and have a basic idea of the main process and browser processes.
- Knowledge of JavaScript
- Knowledge of HTML/CSS is recommended
- NodeJS installed
- Previous tutorial
You can get all the code for this project on GitHub:
What is File Metadata?
Put simply file metadata is the data that’s shown when you right-click a file and choose to view the properties. It includes details like file size, permissions, file type, etc. Most operating systems have this feature.

Project Setup
Setup is simple and you should be familiar with setting up Node projects already. Setup the project wherever you want and however, you want. I’ll list commands below.
- Make a new folder, go into it and create a
package.json
mkdir electron-metadata
cd electron-metadata
npm init -y
2. Install Electron as a dev dependency. ( saving as a devDependency is recommended by Electron because it allows you to work on multiple apps with different electron versions )
npm install --save-dev electron3. Create a main.js and a directory named src with index.html renderer.js and optionally a CSS file. ( you can name these whatever you want )
touch main.js
mkdir src
cd src
touch index.html renderer.js
4. Change the “main” key in your package.json to be the same as your main JS file. In my case instead of the default, index.js it should be main.js And add a start script which is simply electron .

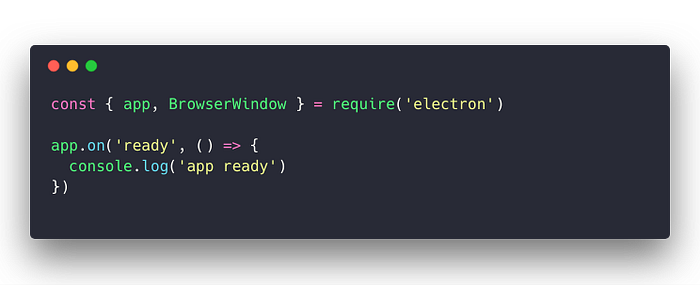
5. Open your main JS file. ( main.js in my case ) This is the main process for Electron which if you recall from the last tutorial — handles native functionality, creating browser processes, etc. We will add the bare minimum to start the main process to test our setup.
All you have to do is require Electron. I’ll also load in BrowserWindow for later and add a console log to verify the app has started.
6. Start your setup and verify it works. In the console run, npm start You should get no errors and see your console log if you added one. If you have any issues let me know in the comments.
So what did we just do?
While it may seem like nothing happened this is all it took to create the main process for our app. You can verify this by checking your system-monitor / task manager.

Let’s Create a Browser Process
Next, let’s get a simple browser process working. There are a few steps we’ll need to do.
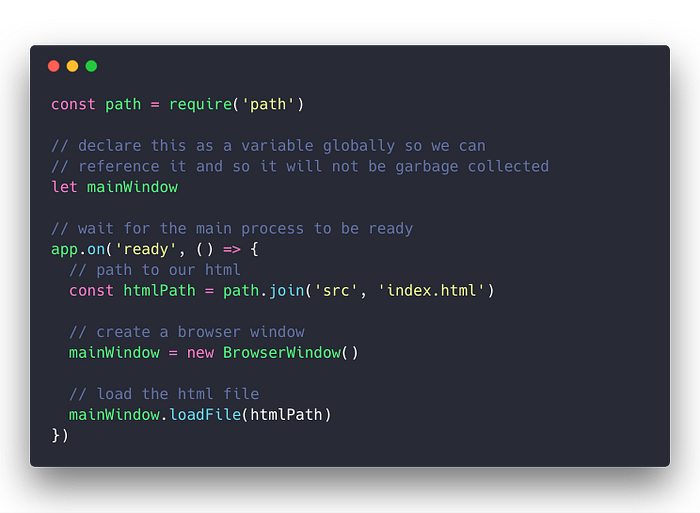
- Load in the path module from Node — this will allow us to create cross-platform paths. i.e paths on windows are
c:path\to\somethingbut Mac and Linux are/path/to/somethingand the path module solves this issue. - Create a variable for our window — if we don’t do this then eventually our window will be garbage collected ( removed from memory ) and the window would disappear.
- Load the HTML file — once we create a window we load HTML into it or even an URL to a website.
( this is all done in main.js )
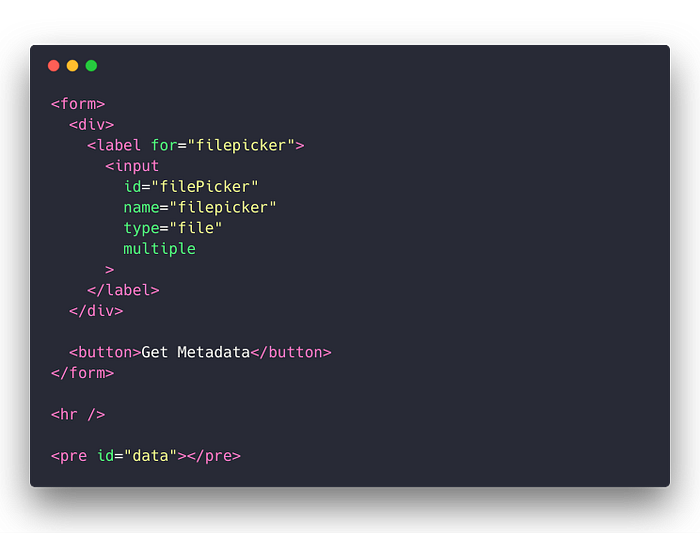
I’ve also added some HTML in index.html you’re free to do this however you like.

Run npm start again and you’ll get a browser window. ( literally )

Awesome! We now have our main process and what we’ll consider our main window. This was really the main tutorial in this article — setting up a super simple Electron app. You’re free from here to add whatever HTML, CSS, and JS you want. We’ll cover a basic IPC and then the rest of this tutorial is just plain JavaScript.
UI Setup
These tutorials are focused on Electron so I won’t explain too much here.
HTML
We’ll add a form with a file picker and an area to display the data. Something like this:
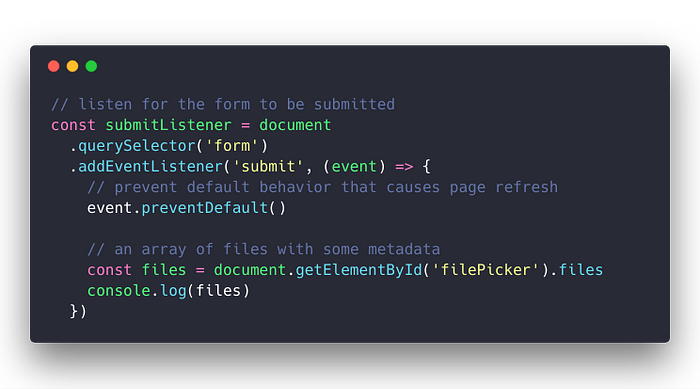
Renderer JS
We’ll need to listen for the form submit event and grab the file data which includes a path to the file and some other data.
( inside renderer.js )

Window ←→ Main Process Communication
Great now how do we communicate this data to our main process? And what do we even want to communicate?
What are we sending and why?
I’m going to choose to send the file path and name. Then on the main process, we’ll use Node to get more information about the file.
You could use Node on your browser process, but it’s best to try and separate the two — keep OS related code on the main Electron side and normal HTML/CSS/JS on the other. This will allow possible reuse of your browser process code on the web.
How do we communicate between processes?
There two separate objects for sending events and data between a browser process and the main process.
Main Process
- Receive —
ipcMain.on(evtName, data) - Send —
myWindow.webContents.send(evtName, data)
Browser Process
- Receive —
ipcRenderer.on(evtName, data) - Send —
ipcRenderer.send(evtName, data)
Notice that to send an event from the main process you have to specify what browser window you want to send it to. Both the ipcMain and ipcRenderer objects exist on the electron object. Let’s see how to use them in practice.
Renderer Process Communication Handlers
In renderer.js we will send the file name data, listen for metadata from the main process and also an error event. You can name these events whatever you like.
Note: I made a mistake above and forgot to convert the files nodelist into an array and I changed it here.
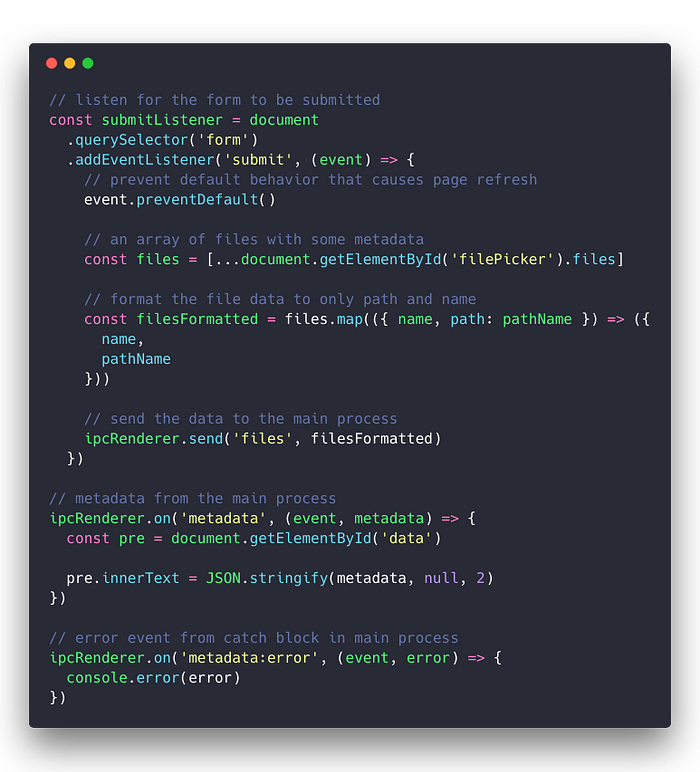
Don’t forget to import ipcRenderer from Electron.
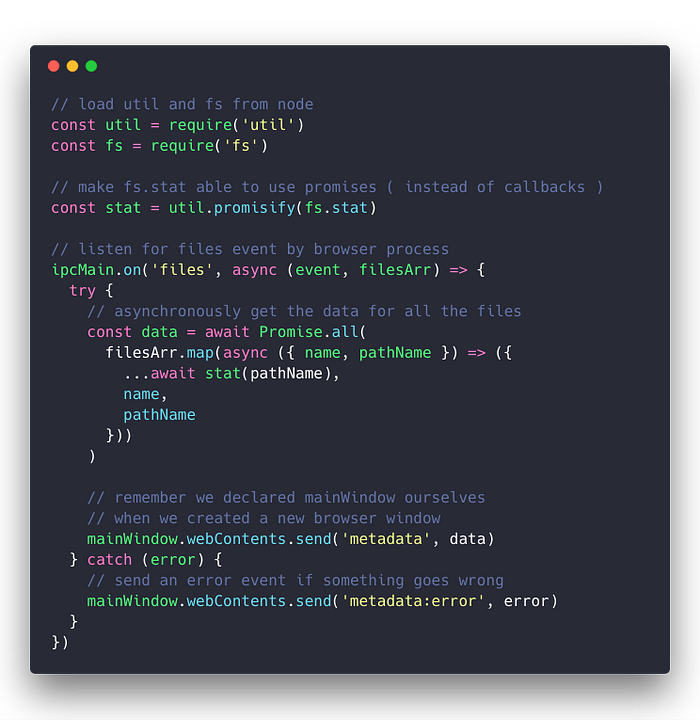
const { ipcRenderer } = require('electron')Main Process Communication Handlers
This one is a little more complicated ( getting file metadata that is) Here I load in some more modules from Node and asynchronously get all of the metadata then send it back. If an error occurs then I will catch it and send an error event — which again can be named whatever you want.
There are better ways to write this code this is just how I chose to do it at the time.
( in main.js )const { ipcMain } = require('electron')
And the result if I open some files:
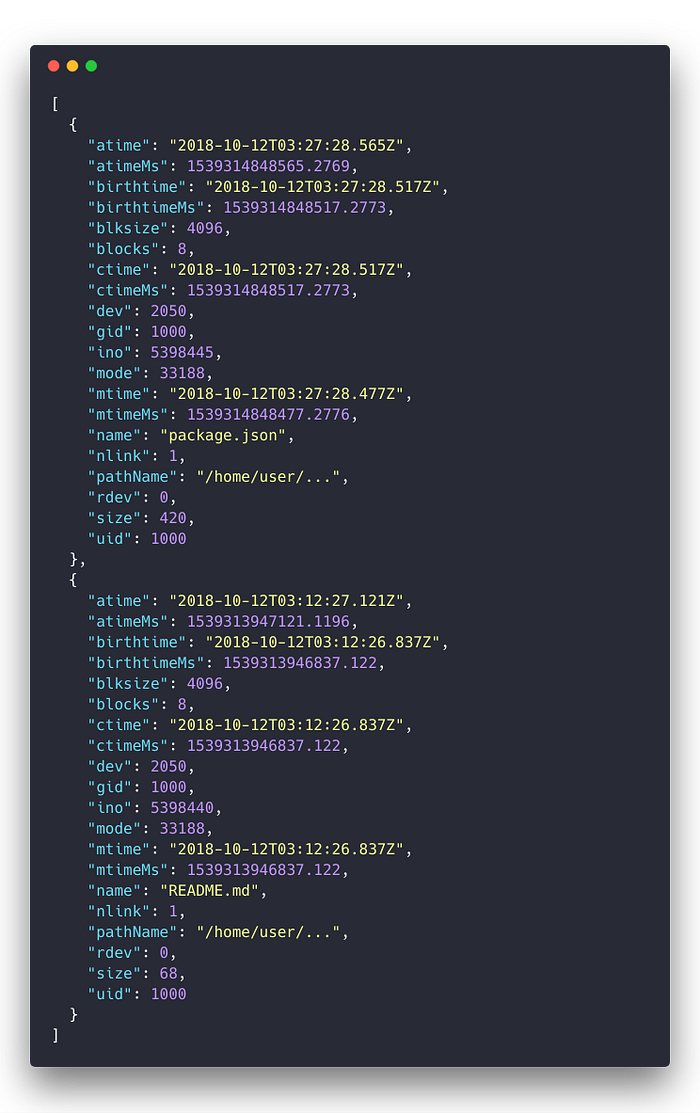
I chose to just add it to the pre tag but you can do whatever you want with the data — like formatting it and making it similar to the system’s properties menu.
Don’t worry if the data looks confusing, the goal here is to learn Electron. Check the Node documentation if you want to learn more about the method we used.
What are “webContents”?
You may have noticed we used it to send data back to the browser process.
webContentsis an EventEmitter. It is responsible for rendering and controlling a web page and is a property of theBrowserWindowobject.
— Electron Documentation
webContents holds many events related to the browser/DOM. Events related to navigation, loading, etc and even methods like copying/pasting. See the full API below.
Key Takeaways
To recap we covered:
- Setting up a simple Electron project
- Using Node modules and that you should try to keep most Node/Electron code on the main process
- Working with events in Electron
- Sending and receiving data between the main process and browser processes
This article was just a small introduction to Electron code — baby steps. The upcoming tutorials will get progressively more complex covering more topics and practices.
References and Links
Thanks for reading! Leave any feedback or questions in the comments below.