Building your first Chat Application using Flask in 7 minutes
We encounter several chat applications everyday, it takes lot of effort to maintain and develop these as they involve two way communication between users and logging each and every request provided by the server. In this, you’ll learn to develop a chat application using Flask, a Python web framework in just 7 minutes.
Yes, you’ve heard it right. It just takes 7 minutes of your time and blimey! you could develop a chat application and yes, have fun with it. Prerequisites for this are few concepts bound with Flask, SocketIO and jquery. These three form the bedrock in building one such chat app.
Let’s deep dive into it and get to know answers to all the basic questions like how to use the above mentioned libraries, what’s the role of each one and how do they contribute in building this chat app.

Why Flask?
It’s one of the robust frameworks which is known for its simplicity, flexibility and several add ons which can later be included if the user wishes to do so. Chat app in turn is a web app, this is where web framework comes into picture and hence, let’s work with Flask here. If you want to dig more about it, just refer to this Flask article.
Installing Flask
It’s very simple indeed. Just go to the terminal in case it’s Mac OS or Linux and command prompt if it’s Windows. Jump to the required directory where you’re writing the source code and type:
$ pip install flaskLet’s create a file named main.py and import Flask class from the flask module, the below snippet explains how to do it.
from flask import FlaskAbout and Installing SocketIO
Let’s get a basic understanding of what a socket is. It establishes a path through which one computer can interact with the other. In simple terms, it could be considered as a gate which enables the communication only if the gates are open, i.e only if the socket’s open. Since chat is all about communication, sockets are essential.
SocketIO is a cross-browser Javascript library that abstracts the client application from the actual transport protocol. Using SocketIO, you can be pretty much sure that any browser out there will be able to connect to your application.
How do we get to create a socket in Flask?
There’s an extension known as ‘flask-socketio’ which enables us to do. Flask-SocketIO gives flask applications access to bi-directional communications between the clients and the server. The client-side application can use any of the SocketIO official client libraries in Javascript, C++, Java and Swift, or any compatible client to establish a permanent connection to the server.
In our case, we shall be using a javascript library which is Socket.JS.
PIP enables us to install this ‘flask-socketio’ extension, to do so, run the command:
$ pip install flask-socketioTo import SocketIO class from flask_socketio module, all we need to do is:
from flask_socketio import SocketIONow, create a variable named app by wrapping Flask around __name__. To enable encryption, we’re declaring a SECRET_KEY.
SocketIO is being applied to ‘app’ and is later being stored in socketio variable which enables us to use socketio instead of app in running the application. socketio encapsulates startup of the web server, i.e. app.
The run() method takes optional host and port arguments, but by default it will listen on localhost:5000 like Flask’s development web server. debug=True enables to sort out the errors with ease.
This should be augmented with few other lines of code to get the basic essence of the chat app and main.py hence looks like:
First Steps, Writing Your Flask view.
What’s a flask view? Let’s consider this,
@app.route('/')
def sessions():
    return render_template('session.html')
So, when the user visits the home page (indicated by the route decorator ‘/’), it trigger the sessions view declared below it. It’s the function being called when opening the mentioned URL.
main.py looks like:
Here, render_template helps in rendering the HTML page which are so called the templates.
Flask Templates helps in adding HTML to our application. These must be included in templates folder. The hierarchy is as follows, assuming the folder or the directory we’re creating this app in is Chat_room.
Chat_room folder
/main.py
templates
       |-/session.html
For now, let’s include a simple message ‘Hello’ in session.html:
<html>
<head>
    <title>Session</title>
</head>
<body>
    <p>Hello</p>
</body>
</html>
Run the application using the command:
$ python main.pyThis gives the output:
Flask-Socket Calls and Message Handling
It’s time to understand how a server receives the messages sent by the client and how it acknowledges the client’s messages.
To receive WebSocket messages from the client, the application defines event handlers using the socketio.on decorator and it can send reply messages to the connected client using the send() and emit() functions.
@socketio.on('my event')
def handle_my_custom_event(json, methods=['GET', 'POST']):
    print('received my event: '+ str(json))
    socketio.emit('my response', json, callback=messageReceived)
On triggering ‘my event’, the ‘handle_my_custom_event’ view firstly receives the json objects, prints it on the terminal and later sends it to the ‘my response’ event. ‘callback’ is kind of debugging technique which helps us in getting to know if the message is received by the server and henceforth, calls the function ‘messageReceived’.
The source code of main.py will be:
Integrating SocketJS in Flask Templates
It’s time to fill in session.html with socket code.
Firstly, we need to include jquery and socket.js scripts in our HTML file. To do that we need to import these scripts before writing our JS Functions.
<script src="https://ajax.googleapis.com/ajax/libs/jquery/1.12.4/jquery.min.js"></script>
    <script src="https://cdnjs.cloudflare.com/ajax/libs/socket.io/1.7.3/socket.io.min.js"></script>
Secondly, we need to prompt both the users( involved in the chat ) to enter the message that needs to be delivered for which we need to create a form in HTML. This should be connected to socket.js by using ‘form’ element and classes of the two input fields as well. The below code snippet explains the creation of a form:
<form action="" method="POST">
      <input type="text" class="username" placeholder="User Name"/>
      <input type="text" class="message" placeholder="Messages"/>
      <input type="submit"/>
</form>
Next, we need to use io.connect() for establishing the connections and create sessions, the session will be created by connecting both the users to the same URL which is http://127.0.0.1:5000.
var socket = io.connect('http://' + document.domain + ':' + location.port);Here, document.domain represents the IP address of the computer you are working on and location.port represents the port, default one is 5000 and if passed as an argument in the run function, it would be that.
socket.on( 'connect', function() {
  socket.emit( 'my event', {
    data: 'User Connected'
  })
  var form = $( 'form' ).on( 'submit', function( e ) {
    e.preventDefault()
    let user_name = $( 'input.username' ).val()
    let user_input = $( 'input.message' ).val()
    socket.emit( 'my event', {
      user_name : user_name,
      message : user_input
    })
    $( 'input.message' ).val( '' ).focus()
  })
})
The first argument to socket.on() is the event name. Event names ‘connect’, ‘disconnect’, ‘message’ and ‘json’ are special events generated by SocketIO. Any other event names are considered custom events.
The ‘connect’ and ‘disconnect’ events are self-explanatory. The ‘message’ event delivers a payload of type string, and the ‘json’ and custom events deliver a JSON payload, in the form of a Python dictionary.
To send events, a Flask server can use the send() and emit() functions provided by Flask-SocketIO. The send() function sends a standard message of string or JSON type to the client. The emit() function sends a message under a custom event name( in here it’s ‘my event’ ) along with the data.
On submitting the form, i.e. after invoking the POST method, an event ‘e’ is passed as an argument where preventDefault() method is called which prevents from submitting the form and later, takes in the values from input fields, username and message. These are then passed through the ‘emit’ function to the custom event ‘my event’ which we earlier defined in ‘main.py’. Thereafter, the message field is cleared to enable the same user to enter more messages.
socket.on( 'my response', function( msg ) {
  console.log( msg )
  if( typeof msg.user_name !== 'undefined' ) {
    $( 'h3' ).remove()
    $( 'div.message_holder' ).append('<div><b style="color:             #000">'+msg.user_name+'</b>'+msg.message+'</div>' )
  }
})
Once the message is sent through an event, we need to render the received message on HTML page. On response, as soon as the message is received we pass in the message to “message_holder” class( along with which text in h3 tag(“No message yet..”) is removed ), where our messages are appended to the previous ones.
Together the entire session.html looks like:
To run the chat application, open your web browser and hit the URL: http://127.0.0.1:5000/. Simultaneously, open another tab and hit in the same URL again.
A few output screenshots then would look like:
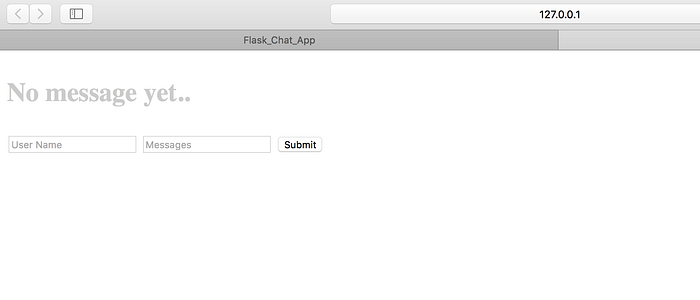
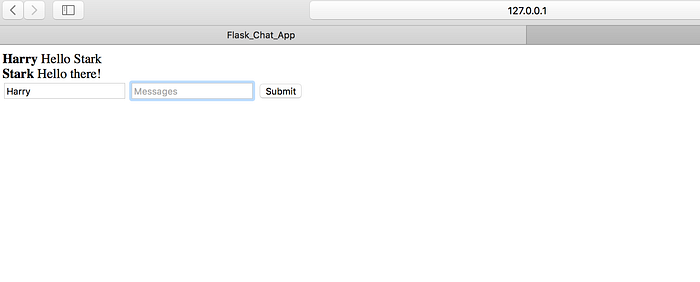
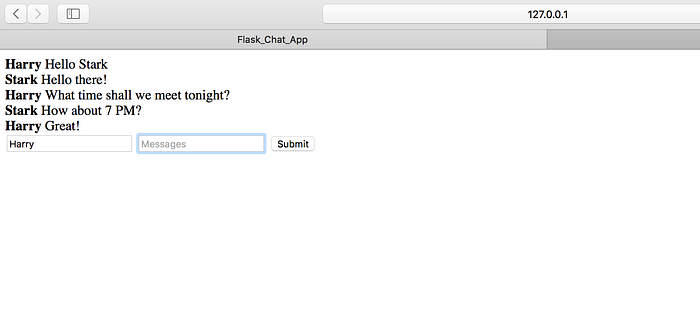
It’s not just confined to two persons but indeed allows a group of people. For instance, open another tab and type in your messages. Voila! You could group text too.
By this, you successfully mastered in building a chat application using flask. Congratulations on learning to do your first chat application.The source-code for the article can be found here.
Thanks for reading. If you found this story helpful, please click the below 👏 to spread the love.
This article is authored by Samhita Alla and Vihar Kurama.
Stay tuned for more articles on Flask.

✉️ Subscribe to CodeBurst’s once-weekly Email Blast, 🐦 Follow CodeBurst on Twitter, view 🗺️ The 2018 Web Developer Roadmap, and 🕸️ Learn Full Stack Web Development.