Creating a NodeJs LED Matrix display framework with Raspberry Pi
Overview
There are a lot of good resources online for building a led matrix display panel to show weather, news ticker, etc. However, most of the resources out there are either doing one very specific thing or not as easily configurable to do other things. So, I decided to build a simple led matrix display framework using my favorite programming language, JavaScript. The framework should be easy to configure. I will focus on setting up the framework on your raspberry pi instead of going into the details from assembly the hardware to getting the led matrix board to display, but links to the resources for setting it up will be provided.
Putting the hardware together

All the hardware needed
Before getting on the programming part, we need to assemble the hardware. Here are some of the parts you will need:
- Raspberry Pi 3 B (recommended) older versions are fine but you will need to configure on the settings
- Adafruit 32x16 LED Matrix panel
- Adafruit RGB Matrix HAT
- MicroSD card 8GB or higher
- 5v Power Supply Adaptor
- Soldering tool (you need this to solder the 2x20 socket header on the RGB Matrix HAT)
First you need to create the Raspbian image on the MicroSD card. You can do the wiring for the RGB Matrix HAT to your raspberry pi but it will be easier to just soldering the pins and connect your pi to it. For this project, I am soldering the 2x20 socket header to the RGB Matrix HAT. You can follow the full instruction here to get the hardware assembled and the led matrix display panel connected.
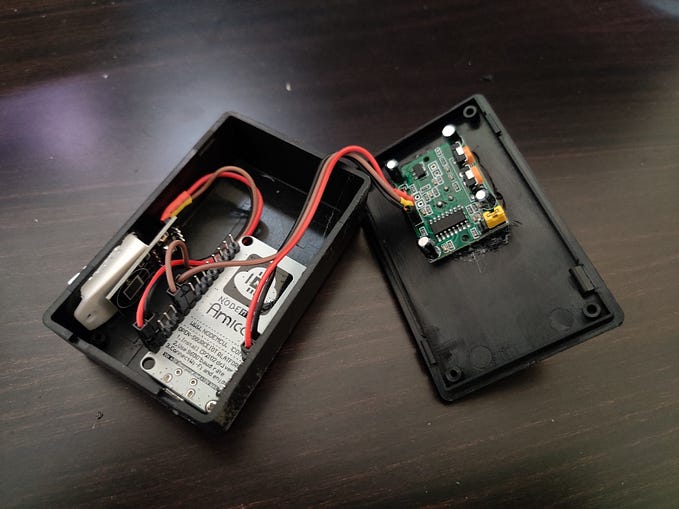
For casing, I just use a small box and cut some holes for wiring. You can print one using 3D printer or woodcraft it if you wish.

Getting it up and running
Before you proceed, you should have the hardware assembled and verify the led matrix display is working correctly. Make sure you tested it to work with rpi-rgb-led-matrix as this project is using this library as dependency. Since we will be running javascript, we will need to install NodeJS.
Architecture Design
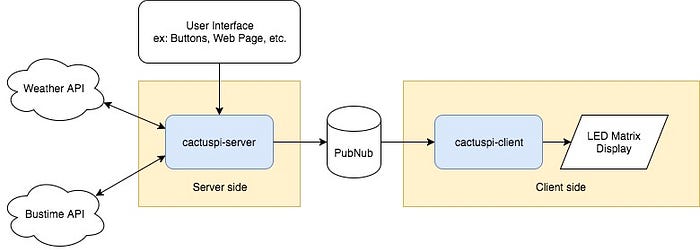
There are two parts of the framework, server side and client side. The server will serve as api end points and receive commands to send messages to the client. The client, on the other hand, is subscribed to the channel and listen for the server. When a message arrived, the client will convert text messages into ppm images before sending it to the display panel. Since the server and client are separated, you can setup as many servers and/or as many clients as you wish. You can also keep it minimal and run both server and client on the same raspberry pi.
Setting up PubNub
Instead of creating a realtime subscribe/publish service from scratch, we are going to use PubNub. The free tier of PubNub is enough for our project. After sign up, you can create a new project in PubNub, and copy the publisher and subscriber keys and set them in the config.json on both cactuspi-client and cactuspi-server projects.
Client side
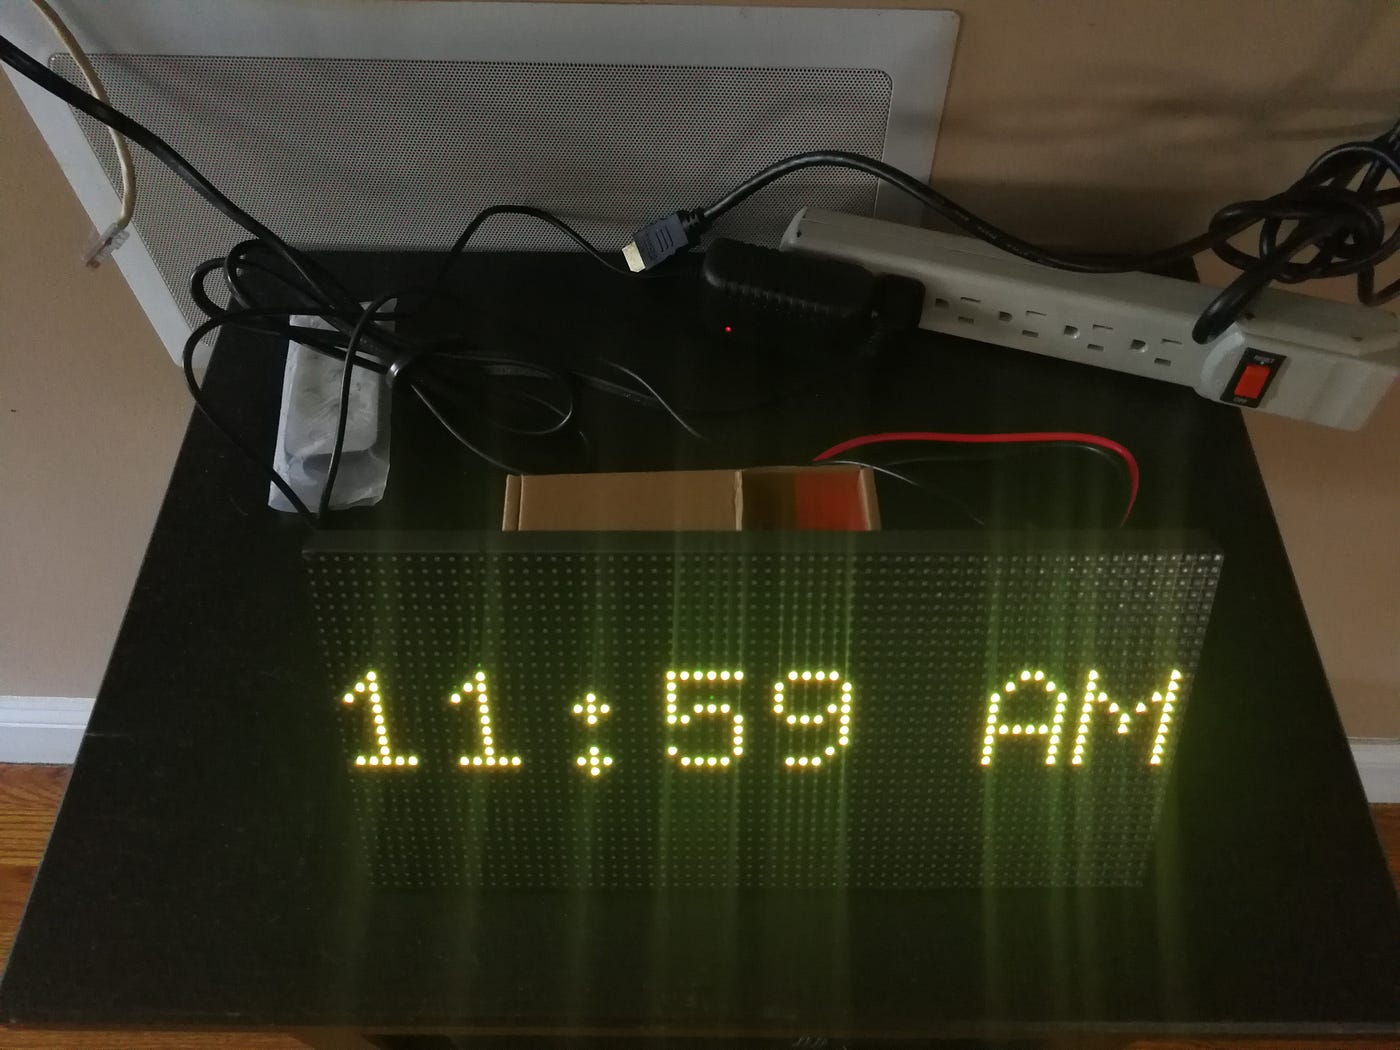
The client service is subscribed to the PubNub channel our server is pushing messages to. There are two major tasks our client is doing, generate messages to ppm format image and send it to the led matrix board for display. The client LED Matrix will display the clock when there is no messages arrive.
The client maintains a queue of messages which by default will be first in first out (FIFO). However, the priority of the message can be configured by the server. When a new message arrives, we will either put the message into the queue depends on its priority setting. The message will then wait for its turn to be generated into .ppm image (since it is the best format for displaying text without losing pixels), and to be displayed on the board.
When it reaches the last message of the queue, the clock will be displayed until new messages arrive.
Source code for cactuspi-client.
After git clone https://github.com/dannielum/cactuspi-client.git, make a copy of config.json.sample and rename it to config.json in the root directory of the project.
{
  “logo”: “./cactuspi.ppm”,
  ”initMessage”: “Cactus Pi”,
  ”pubnub”: {
    “subscribeKey”: “”,
    ”secretKey”: “”,
    ”channels”: [“cactuspi”]
  },
  ”ledMatrix”: {
    “path”: “/path/to/rpi-rgb-led-matrix”,
    ”options”: {
      “ledGpioMapping”: “adafruit-hat”,
      ”ledNoHardwarePulse”: true,
      ”ledRows”: 32,
      ”ledChain”: 2
    }
  }
}
Replace the pubnub’s subscribeKey and secretKey with what you obtain when creating a new project in pubnub. You can change the ledMatrix settings depending on your setup. For ledMatrix.path, make sure you set the path to the directory of rpi-rgb-led-matrix project you tested previously. The setup above is for a raspberry pi 3b using an adafruit led matrix hat with one 32x16 led panel.
Run npm install and verify all dependencies are installed, then run npm start to start the client node.
Server side
The server is an api endpoints running on express. The brain of the framework will be on the server side. Each end point is pushing a message to the PubNub channel our client is subscribed to. Therefore, we can add a weather service to fetch weather data from a third party api and push the result to the client. Or add a bustime service to fetch the bus time data to inform me to leave my house on time in order to catch the bus.
You can setup cactuspi-server on the same raspberry pi for client. You can also setup another pi as the server or even run it on a cloud based server on any machine that runs nodejs.
Source code for cactuspi-server.
After git clone https://github.com/dannielum/cactuspi-server.git, make a copy of config.json.sample and rename it to config.json in the root directory of the project just like you did for the client project.
{
  "pubnub": {
    "subscribeKey": "",
    "publishKey": "",
    "secretKey": "",
    "channel": "cactuspi"
  },
  "weather": {
    "apiKey": "weather api key",
    "city": "city",
    "unit": "metric"
  },
  "bustime": {
    "apiKey": "bustime api key",
    "lineRef": "MTA NYCT_<BUS NUMBER>",
    "directionRef": 0,
    "monitoringRef": 0,
    "maximumStopVisits": 5
  }
}
Do the same for the pubnub config settings as you did for the client project, except here you also need to specify the publishKey because our server is a publisher that push messages to our client.
We will use OpenWeatherMap to fetch real time weather info, you will have to setup and account and obtain an api key and set it in the config file. For MTA bus time, I am using the mta-bustime library which fetch data from the official MTA-Bustime SDK. You have to create a free account and set your api key in the config file. Change the settings to your bus line, direction, and bus stop.
Run npm install and verify all dependencies are installed, then run npm start to start the server node. If you are running both client and server in the same hardware, make sure you run them in two separate terminals.
To test if your setup is working. You can simply ping the end points.
Weather: http://localhost:8081/weather
Bustime: http://localhost:8081/bustime
Message: http://localhost:8081/message/Some message
If you want to trigger it from a different device, just change localhost to the ip address or name of your raspberry pi.
User Interface
We can create a web app for user to interact with the server. Or we can create buttons which will ping our server. I will cover this part in the future post.
Start script on boot
It is annoying to have to always ssh into the pi and manually start the script. We can auto start our script as a service when the pi boot. cd /etc/systemd/system and add a new service file nano ledmatrix.service. Copy and paste below into the file:
[Service]
WorkingDirectory=/home/pi/path/to/project
ExecStart=/usr/bin/npm start
Restart=always
StandardOutput=syslog
StandardError=syslog
SyslogIdentifier=ledmatrix
User=root
Group=root[Install]
WantedBy=multi-user.target
Make sure you change the WorkingDirectory to the project directory. Then run the following command to enable the program.
sudo systemctl enable ledmatrix
Restart your pi after that with sudo reboot, the program should automatically started when restarted.
Shutdown button
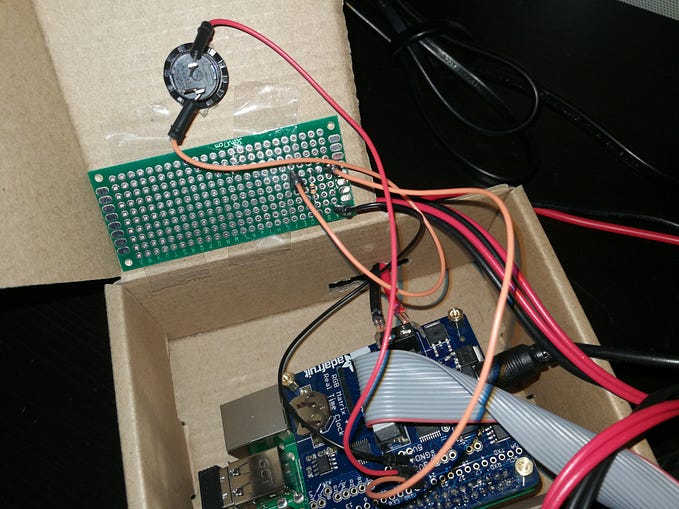
You can make shutting down your raspberry pi safely by pushing a button.
Hanging it on the wall
I put it in a picture frame and hang it on a wall.
Final words
Hope you find this project fun and learn from doing it. It should also be easy to fork the project and add your own end points to cactuspi-server to display your own custom messages. If you follow along and make your own led display panel, I would be happy to hear about it. Please feel free to leave your comments below.