Getting Started with Expo React Native and Styled Components using a Netflix Clone example

Introduction
So in this quick tutorial we will go over the following:
- Using React Navigation (Drawer Navigation and Stack Navigator combination)
- Using Expo (Learn more about it on their website here: http://expo.io/, or watch the video below)
- Styled Components for React Native
Setting up the Project
- Download expo from here: https://expo.io/tools
- After installing expo, and running the app, you will be greeted with a login screen. Sign in with your Github account or register a new account.
- Create a new project by pressing on the ‘lightning’ icon or you can press ‘Command + N’ if you’re on a Mac.

- You will be given 2 choices for a starting template, a blank or tab navigation template. Choose the ‘Blank’ template option and title your project ‘expo-netflix-example’

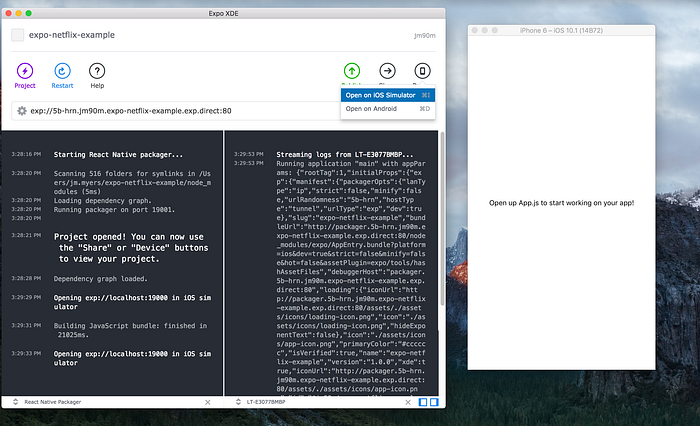
- After clicking, ‘Create’, you can click on the ‘Device’ section on the right hand section and ‘Open on iOS simulator’.
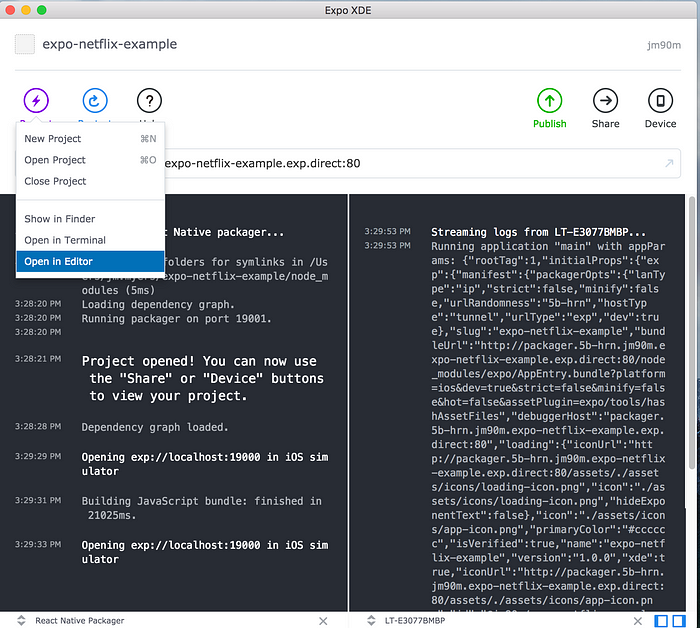
- Now lets open up the project in any IDE of your choosing, I prefer to use WebStorm, but Atom / Sublime are also good alternative options.
- You can click on the ‘Lightning’ icon again and there should be an option to ‘Open in Editor’. For me it opens it up in Sublime Text Editor, but since I prefer to use WebStorm, I just manually find where the project was created and open the project using WebStorm.
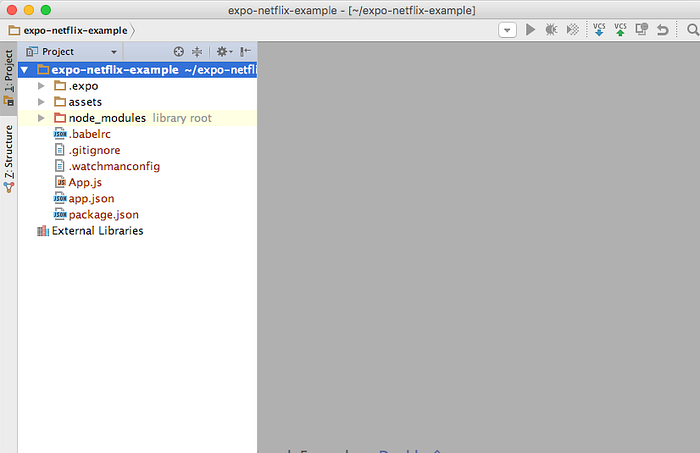
- Your initial project structure should look something like this:
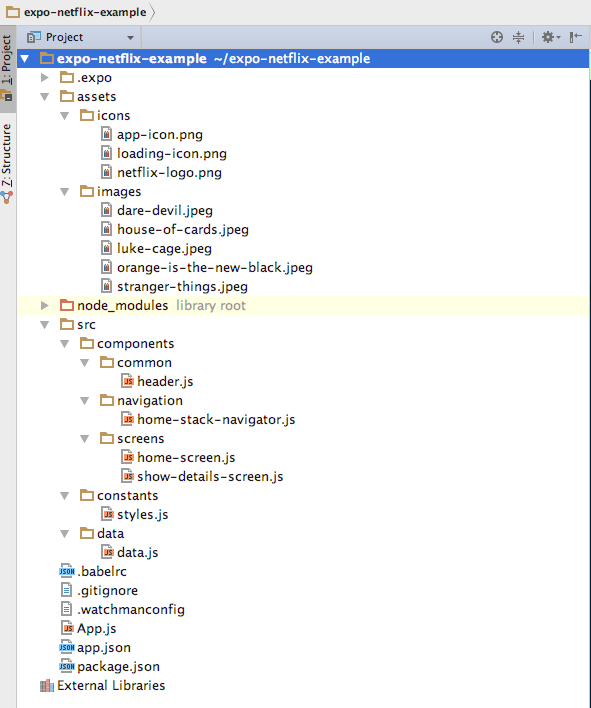
- Lets create the basic outline of this project, I like to structure my project by putting everything in a ‘src’ folder and then splitting it up from there.
- Create a ‘src’ folder and create a ‘components’ directory with a ‘common’, ‘navigation’, and ‘screens’ subdirectories. In the ‘common’ directory, create a file called ‘header.js’. In the ‘navigation’ directory, create a file called ‘home-stack-navigator.js’. In the ‘screens’ directory, create a file called ‘home-screen.js’ and ‘show-details-screen.js’;
- Create a ‘data’ directory on the same level as ‘components’ (so directly under ‘src’), with a single file called ‘data.js’. We will be using this to put some dummy data.
- Create a ‘constants’ directory with a single file called ‘styles.js’, we will use this to store all our colors in this app. I also use this file to store any other common styling attributes such as font sizes, and padding/margin lengths.
- You will also need to grab some images and put them in your /assets directory or you can use the ones that I picked out in here: https://github.com/jm90m/expo-netflix-example/tree/master/assets/images
- Also grab the Netflix logo icon and put it under assets/icons directory: https://github.com/jm90m/expo-netflix-example/blob/master/assets/icons/netflix-logo.png
- Your project directory structure should look something like this:
- I like to make my imports look clean, so I would recommend that you install the babel plugin `babel-plugin-module-alias`. So instead of using relative paths in your project, you’ll be able to use an alias, like in this simple example below, taken from (https://www.npmjs.com/package/babel-plugin-module-alias)
// Instead of using this;import MyUtilFn from '../../../../utils/MyUtilFn';// Use that:import MyUtilFn from 'utils/MyUtilFn';
- You can install
babel-plugin-module-aliasby going into the terminal and navigating to your root project directory and type in: npm install --save-dev babel babel-plugin-module-alias

- Now in your
.babelrcfile, (located in your root project directory) you will need to add themodule-resolverfield and since we’re having all our files in the /src directory, you need to set the root tosrc. Your.babelrcfile should look like this:
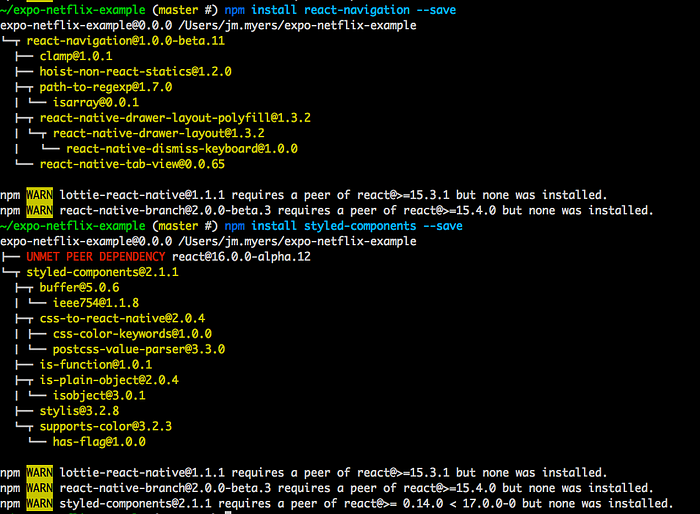
- Now lets install
react-navigationandstyled-componentsby going into the terminal and navigating to the root project directory, and type in `npm install react-navigation — save`
`npm install styled-components — save`
Creating Constants and Dummy Data
- In our
constants/styles.jsfile, add the colors that we will be using in this app. Yourstyles.jsshould look like this:
- Note: I like to label my colors using this site: http://www.color-blindness.com/color-name-hue/. The structure for
COLORSobject, starts with the hue then the color name then the actual hex value of the color. Not too sure if this applies to React Native, but using hex values is more performant than using the color text such as ‘red’ or ‘black’, see here (https://stackoverflow.com/questions/11620719/efficiency-of-color-selection-in-html-rgb-vs-hex-vs-name) - In our
data/data.jsfile, lets create our dummy data like so:
- Note: we need to use ‘require’ to import our images and assign it to the image attribute in each of the object. I duplicated the shows to provide more data / I was too lazy to look up other shows.
Creating Components and Screens
- In our
components/common/header.js, we will include the Netflix logo and import a drawer and search icon from ‘react-native-vector-icons/FontAwesome’. We will also be passing in a ‘openDrawer’ function prop to our header component, to open the drawer navigation when the drawer icon is clicked. Yourheader.jsshould look like this:
- Note: Here we are using styled-components/native, to easily create a more readable component-style architecture and we make use of our ‘COLORS’ constants by adding them into our styled components.
- Now create your
home-screen.jsandshow-details-screen.jslike so:
In your /src/components/navigation/home-stack-navigator.js , we can now use our HomeScreen and ShowDetailsScreen in the StackNavigator config, like so:
Now lets go back to our App.js file, and create a DrawerNavigator with the HomeStackNavigator as it’s initial route in the drawerRouterConfig
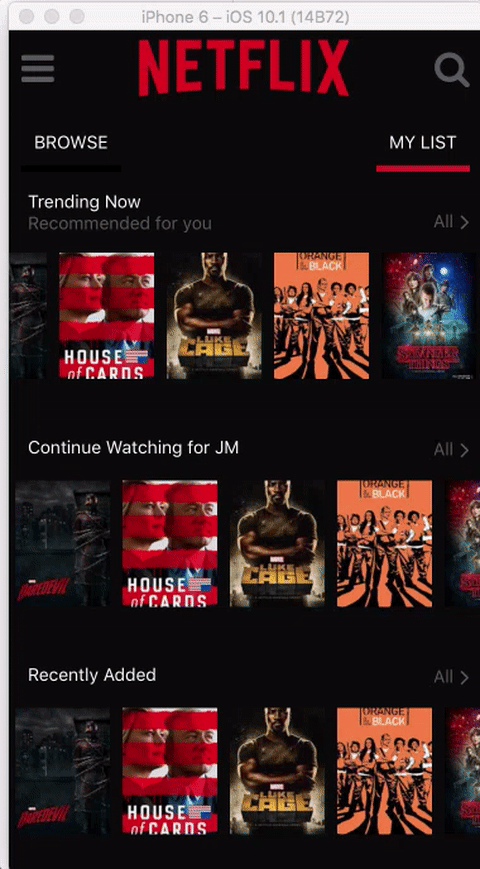
Now hopefully if everything works, you should be able to load up the iOS simulator and you should see something like this:
All the code is in here:
https://github.com/jm90m/expo-netflix-example
Conclusion
Expo has been a really great tool to bootstrap my react native projects and I highly recommend it to anyone that wants to quickly get started with React Native. I also prefer using styled-components rather than the inline-styles that React Native has, since to me, it just looks way cleaner and readable. I didn’t go as in-depth as I would like to in this quick tutorial, but I would like to create more articles/tutorials in the future that go over using Redux, more flexbox styling layouts, and animations. Also you can let me know what you guys want to learn, and I’ll try to explain it using examples. Thanks again for taking the time to read all of this :).