Angular is one of the most popular Javascript frameworks in the world for building modern web applications. Angular is created & developed by Google and has a huge community support behind it. You can visit Angular official website from here.
Starting with Angular 2+, various configuration files are needed in an Angular project. Installing them manually one by one is a waste of time and also difficult.
Therefore, Angular brings a solution to deal with all of the configurations: Angular CLI. We can start developing an Angular project within a couple of minutes by using Angular CLI.
In this post, I will be explaining how to install Angular in your computer by using Angular CLI.
Important: Angular is not Angular JS.
Angular JS → Angular version 1.x
Angular → Angular version 2+
Check out below my new Angular for Beginners Tutorial Series:
What is Angular CLI?
CLI stands for Command Line Interface. Angular CLI is being used for automating operations in Angular projects rather than doing them manually. CLI supports us developers in an Angular project from beginning to end.
For example, Angular CLI can be used for:
- Configurations, Environment Setup
- Building components, services, routing system
- Starting, testing and deploying the project
- Installing 3rd party libraries like Bootstrap, Sass etc. (with Webpack)
and much more.
Angular CLI saves developers time and effort significantly. You can check its official website below:
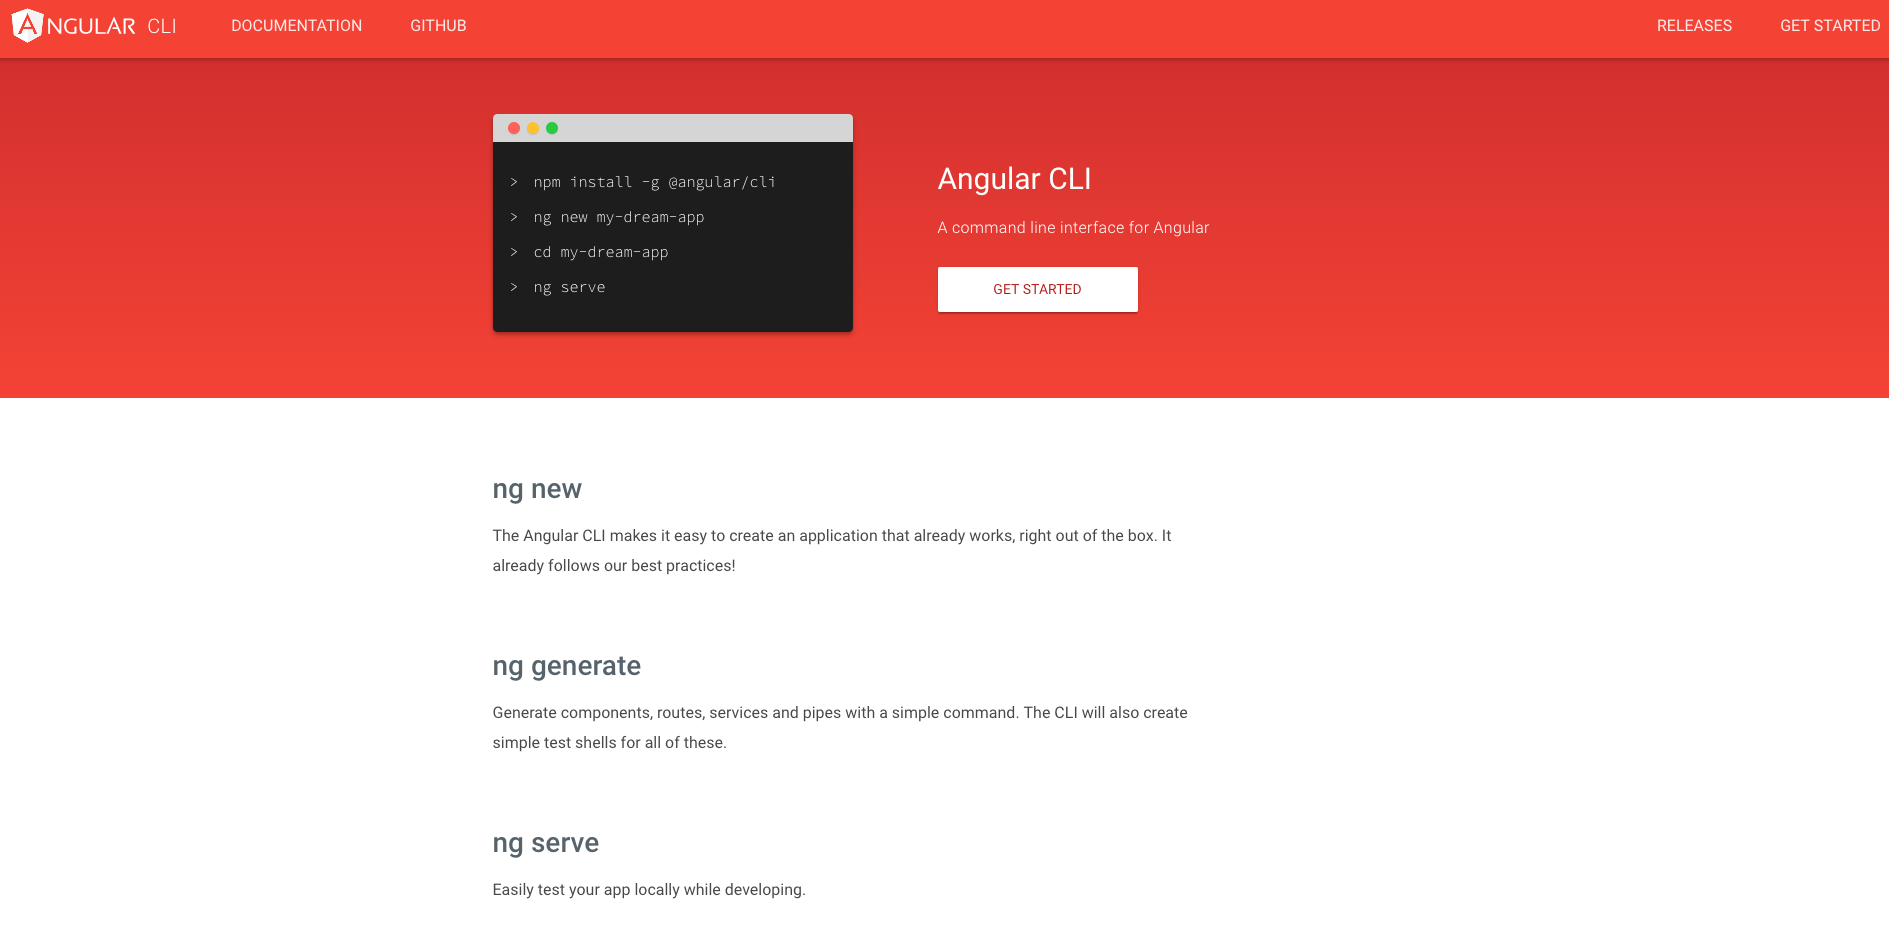
How to install Angular with the CLI?
If you visit the official website above, you can see that there are some commands written. These are the 4 main steps to install an Angular project:
- Node Package Manager (NPM) installation (prerequisite)
- Angular CLI installation
- Creating an Angular app with the CLI
- Running the app
Let’s see them in details…
1. Install NPM
Angular requires Node.js in your system (version 8.x or 10.x). If you already have it, you can skip this part.
Node has the Node Package Manager (NPM), which we need for installing Angular CLI and other programs (packages). You can download NPM from here.
After the installation is completed, go to your Terminal or Windows Command Prompt and type node -v to check which version is installed:

2. Install Angular CLI
After you’ve installed NPM, you can install Angular CLI as the 2nd step. Open your terminal or command prompt and type the command below:
npm install -g @angular/cliNOTE: If your Mac restricts installation, you can be super user with sudo su command and try again.
g stands for global installation. We include it so we can use the CLI in any Angular project later. After the installation is completed, type ng v to verify whether the installation is successful.
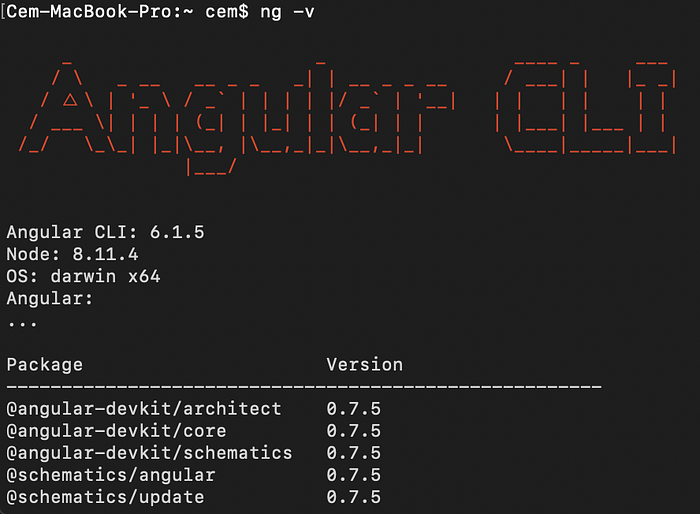
ng stands for Angular and -v is version.
3. Create an Angular App with the CLI
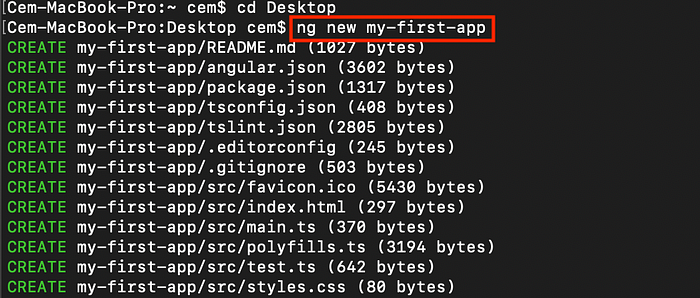
You can now install an Angular app with the CLI. Again from your terminal, first choose a file path for where to install your source code. I will select a location as my Desktop with cd Desktop command, then type the following command to install your first Angular Project:
ng new my-first-appThis command will install the Angular app with all the configurations needed. You can choose of course another name.
4. Run the App
Angular supports live server, so you can see the changes in your local browser automatically without refreshing the page. After your Angular App is initialized successfully, go to your project folder with cd name-of-your-app.
If everything is all right so far, you can run the Angular app with the following command:
ng serve --openThis command will serve (start) your Angular Application and the open command opens it automatically in your web browser:
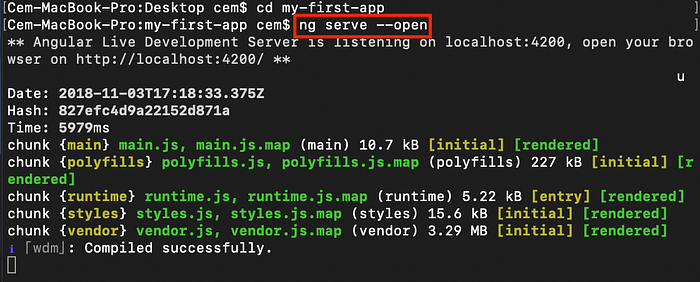
After you see this message, a browser page will open and congratulations! Your first Angular app is running on your localhost :)
So once you have installed Node.js (npm) and Angular CLI on your machine, it takes only a couple of minutes to install & run an Angular project. I hope you find this article useful.
Next, you can read my other article about Angular Components:
If you want to learn more about Web Development, feel free to follow me on Youtube!
Thank you for your time & support!

