Installing Git for the first time on Mac OSX

In the first few posts in this series, I have introduced the git software tool and why you should use it when you develop software. However, I haven’t actually told you how to install it on your computer. So that is what we are going to do in this post.
Remember git is a program that is most commonly used on your laptop or desktop, it is not a program for a mobile phone or tablet. This post is going to be platform dependent, so depending on whether you are a Mac, Linux or a PC user, these instructions may be a bit different.
For now, I’m going to go through the installation instructions for Mac OSX 10.13.2 running High Sierra. These instructions will most likely work on any recent version of OSX, but let me know if you run into issues.
If you are running on a different system, please walk through these instructions and tell me in the comments which stage you get stuck on so I can address any issues.
Remember the most common way to interact with git is through the terminal window, so open a new terminal window to continue.
On this system, when I open a terminal window and type the word “git” for the first time, the following output results.
JohnFarllsiMac2:~ patrick$ git
xcrun: error: invalid active developer path (/Library/Developer/CommandLineTools), missing xcrun at: /Library/Developer/CommandLineTools/usr/bin/xcrun
JohnFarllsiMac2:~ patrick$
This tells me that the git program is definitely not installed on this machine and we need to install it to use the program.
The first step is downloading the installer package from the website. You can navigate to https://git-scm.com and click the download button for the installer package that looks like the following image as of 12/23/2017, showcasing git version 2.15.1.

After I clicked download, I received the file git-2.15.0-intel-universal-mavericks.dmg which I then doubled clicked on. The computer mounted an image partition that contained 3 files as shown below.
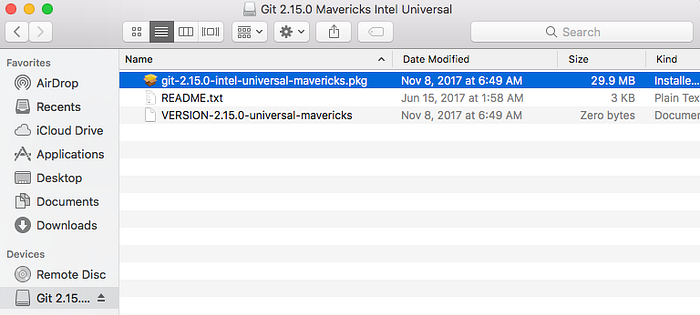
Click on the file with the .pkg extension. Note that your version may be different depending on how much time has passed between when I wrote this article versus when you are installing it. However, the process should be the same.
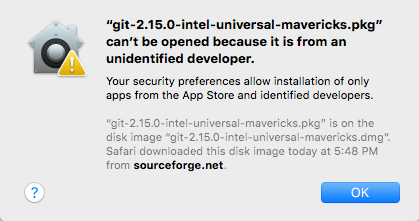
If your system is locked down like mine is, you will get the following warning.
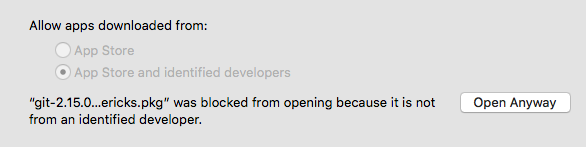
You must now click the Apple symbol in the upper lefthand corner of your desktop, go to System Preferences and then click on the Security & Privacy icon.

After you enter the Security & Privacy menu, you will see an “Open Anyway” button, click that button and then proceed.
This will then open the git installer which you should run through all the steps by clicking on Continue.
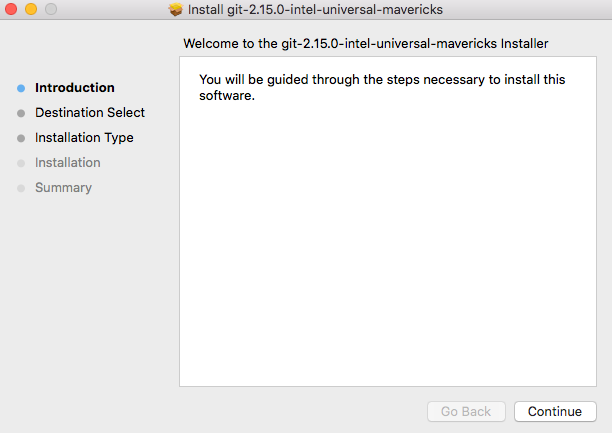
As you run through the install process, you will need to be an administrator of your system to install this package, as it will ask you to input the password for your account.
Once the process is complete, open a new Terminal window and type “git”, you should see the following output if the software is installed correctly. This is the help information for how to use git should you forget in the future.

We are now ready to start working with git. Please revisit Part 2 of this series and get comfortable working with git from the command line. In the next post we are going to start working with the git graphical user interface, work more with git repositories and push our first project to the GitHub servers.
If any part of this tutorial was confusing or you ran into issues, please let me know in the comments below.