How to setup Webpack +2.0 from scratch in 2017 — Part III

Greetings! What a beautiful Monday morning. Since it’s day off for us Estonians I’m going to use it in a productive way and go ahead carry on our webpack journey.
This is chapter III, please look below for chapter I and chapter II (they’re good)
Chapter I
Chapter II
In case you’re lost — We left off here

Cleaning up time!
We’re starting to have more than 5 files, it’s time to start organising and making directories for each part of our delicate architecture.
How about we make a src directory where we store our stylesheets and application logic, public directory for static assets, which the browser gets to read and possibly in the future make a config directory for our webpack configuration.
Let’s make our src directory and move index.js and styles.scss there.
Next we make out public directory and move index.html and output.js there. Like so:

Now need to update our paths in webpack.config.js Can you figure this one out?

I also required a new constant called path. What is this path? Well, from the official Node.js documentation we can safely quote:
The
pathmodule provides utilities for working with file and directory paths
Why? Because Webpack needs an absolute path to work properly. We can accomplish this by using resolve
Let’s confirm it works.
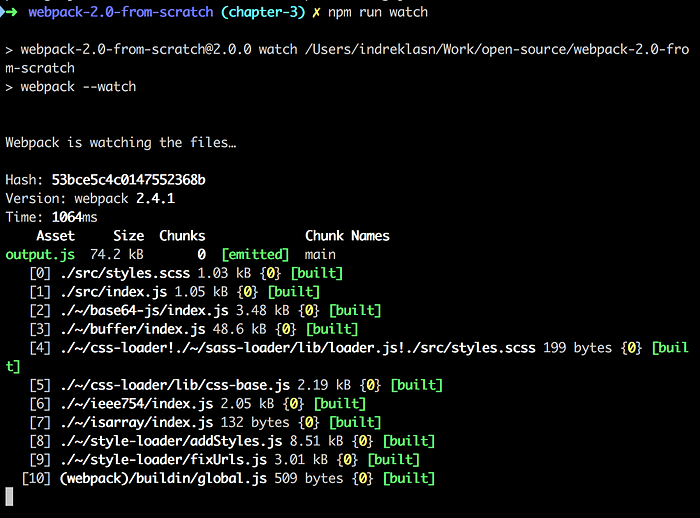
Woop woop! Starting to look like a real project!
Extract SCSS to a Dedicated CSS File
Right now we are injecting our CSS to the DOM. It would be much more preferable if we had a dedicated styles.css file made for us after compilation from SCSS to CSS.
Let me introduce a new webpack concept called plugins. Plugins are basically like adding custom functionality on top of our config. We can extract a dedicated CSS file with the help of extract-text-webpack-plugin.
The
pluginsoption is used to customize the webpack build process in a variety of ways.
Alright, let’s install extract-text-webpack-plugin with npm.
npm install --save-dev extract-text-webpack-plugin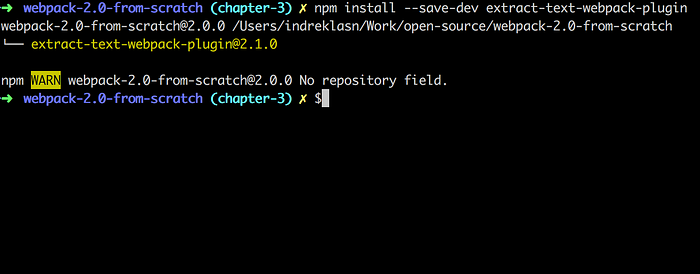
- We need to require the plugin and save it as a constant.
- Next we specify a loader for each file ending with a
.scssextension (we can use our existing one!) - We need to call the ExtractTextWebpackPlugin plugin with a
extract()method in the loader. - Finally we initialize our plugin constructor with the
newkeyword and pass ourCSSfile name as an argument.

Try it out! Let’s run our favouritenpm run watch command.

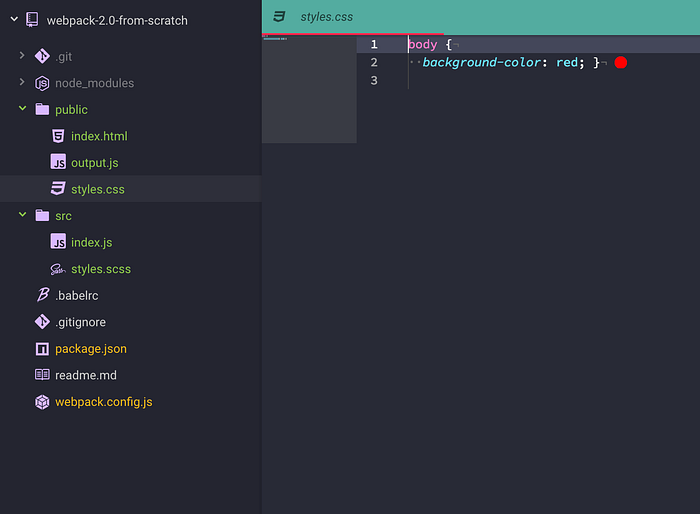
And we should end up with styles.css generated in our public directory.
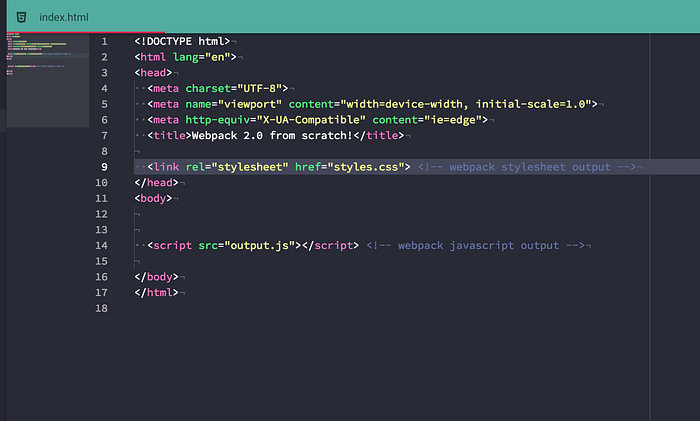
Attach it to our index.html like we’re used to and we’re good to go!
And let’s open our browser and test if everything works as intended.
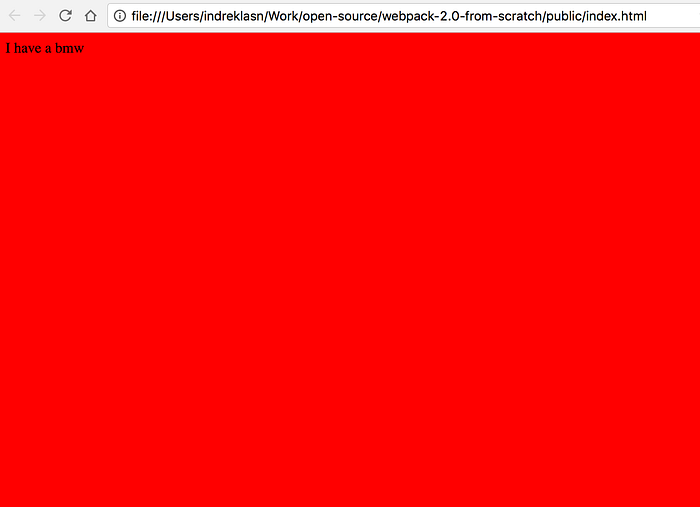
Yup! Still good! Good job!
Setup webpack-dev-server, finally!
We’ve waited long enough. Let’s setup our local development server.
We already have the package webpack-dev-server but in case you don’t, install it with npm npm i webpack-dev-server --save-dev
Alright, so it’s pretty straight forward actually.
Typing webpack-dev-server -h we can see all the possible configuration parameters. We definitely need to specify our path to webpack.config.js and we surely want to use the --watch and --hot parameters. Hot reload is a really cool feature, we can save our app’s state and while making changes.

So how do we configure our webpack.config.js? Good question — we have a devServer {} object where we can pass arguments.
Type this out with me — I have added comments for each line responsibility. Take a look below! :)

Cool, we have configured our webpack-dev-server but now we need to launch it. How? NPM scripts to the rescue!

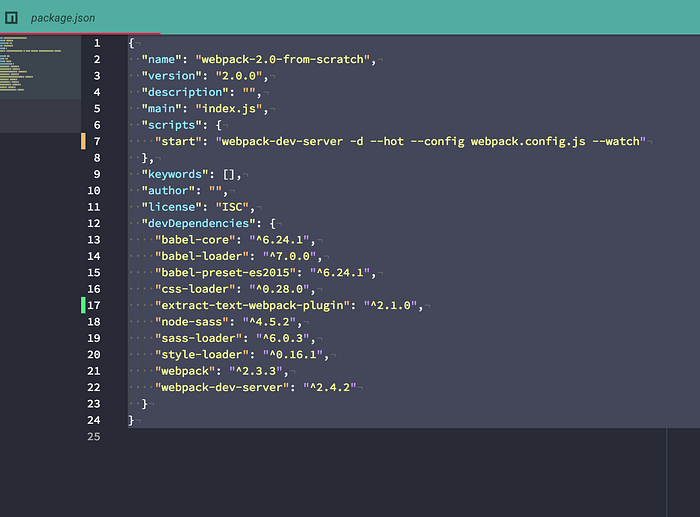
Let’s remove our watch script and replace it with start
Here’s the arguments we’re gonna pass
webpack-dev-serverfor launching the dev-server-dfor debug--hotfor hot-reloading--config webpack.config.jswe specify our path the the configuration--watchfor watching file changes in the system
"scripts": {
    "start": "webpack-dev-server -d --hot --config webpack.config.js --watch"
  },
let’s run our new script!
npm run start
It should launch the browser with the content of

As we can see, we’re now using localhost instead of manually going to the path in our system. Cool! A webpack-dev-server! If anyone’s interested webpack-dev-server is using Express.js behind the scenes.
Also try making changes, it should reload without having to manually refresh the page! Amazing!
Summary
We learned about organising our project, extracting our SCSS to a dedicated file, setting up a webpack-dev-server with hot reload and watch for file changes!
Amazing job, we pretty much have a standard webpack configuration already, but there is much more we can do. I’ll see you in chapter 4.
Chapter IV here!
Source code
Thanks so much!