Write and Deploy Your First Serverless Function in 10 Minutes, or Less

At first time when I was heard about serverless functions, I was super-excited. But then I realised the fact that setting it up for the first time in AWS takes a little bit of more time and effort than my expectations. Then I heard about Netlify supports lambda functions, and decided to give it a try. Surprisingly, the process was super simple, and my serverless function was up and running within minutes!
Let me walk you through what I did.
I used NodeJS to write my function. You can see the full list of supported languages here. Create a new repo on either GitHub, BitBucket or GitLab, clone it to your local. Initialise it with npm and install netlify-lambda.
npm init
npm i --save-dev netlify-lambda
Create a folder named functions, and add a new file - test.js within. Write the below code in that file.
exports.handler = (event, context, callback) => {
    callback(null, {
        statusCode: 200,
        body: 'Yey!',
    });
};
The code above simply returns the message body. When you call a function’s endpoint, the handler receives an event object similar to what you would receive from the AWS API Gateway. The context parameter includes information about the context in which the function was called. But we don’t care about these two for now.
Next, open your package.json and add some scripts:
..."scripts": {
    "start": "netlify-lambda serve functions",
    "build": "netlify-lambda build functions"
},...
Create a folder in your root directory named lambda. This is where we’ll build our function. Now, create a netlify.toml file in the root and add the following configuration.
[build]
command = "npm run build"
functions = "lambda"
You can test your serverless function using npm start command now. Yey!

Commit and push your code to remote repo.
Now go to Netlify and click on New site from Git.

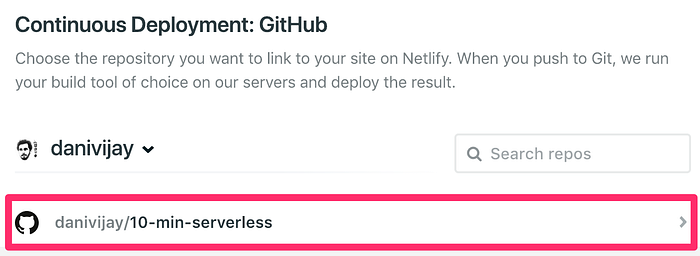
Connect your hosting service, then and select your repo.

Keep all settings as is and hit Deploy site

Your function will become available online within seconds in https://<your-netlify-project-name>.netlify.com/.netlify/functions/test

You can find my repo here : https://github.com/danivijay/10-min-serverless

