4 Tips for Using the Google Maps API with React Native
This week Josh, Dillon, and I have been using react-native-maps to render a Google map with geolocation search on mobile.
Throughout the implementation, we encountered multiple bugs — and we couldn’t find documentation that addressed our issues. Hours of our lives were lost to debugging.
Our hope is that the same will not be true for you. Here are 4 hard-won tips we picked up when using the Google Maps API with React Native:
1) Android > iOS for React Native with Google Maps
The Google Maps API is really buggy running on iOS. Our single biggest tip is to build your Google Maps / React Native application on Android.
The iOS Xcode Simulator doesn’t play well with react-native-maps: it makes Google Maps slow to load, scroll, and move, and randomly flashes to other parts of the globe (the UK in particular). All hangups worth avoiding if you can afford to build on Android.
If you need to build on iOS:
- Kirsten Swanson has a wonderful tutorial for setting up your map in XCode.
- The iOS
react-native-mapsinstallation contains typos! The example podfile provided is structured differently than the default setup in React Native CLI. If you initially set up your project with the React Native CLI, use this podfile instead (we’ve fixed the typos for you). - Try not to rely on the Xcode Simulator for testing. One alternative is regularly deploying to a real device to check your work.
2) React Native’s MapView requires manual adjustment after location search.
React Native does not automatically adjust the MapView to display the searched location from Google Maps. You’ll need to manually adjust your MapView, using props like initialRegion, region, onRegionChange, and/or onRegionChangeComplete.
The differences between these props are not entirely clear in the documentation. Here’s how to distinguish them:
- initialRegion — sets the map region on initialization. Cannot accommodate updates.
- region — able to take location updates from your application and re-render map accordingly
- onRegionChange — tracks map position as user scrolls and zooms
- onRegionChangeComplete — logs map position as soon as the user stops scrolling and/or zooming
Note that initialRegion and region don’t work together; if they’re used at the same time, the application breaks down.
3) Every new map view will require a custom viewport.
Maps have layers — searching at the street, city, and state level, we expect to see different features and different amounts of surrounding space. Viewport is the designation in Google Maps that determines the northeast and southwest borders that should frame your search coordinates.
Viewport has its own field in the Google Maps JSON response, just like latitude and longitude do. But unfortunately, the react-native-maps component does not use northeast and southwest coordinates as borders — instead, it centers itself around a single set of coordinates, with zoom level being determined by a longitudeDelta and latitudeDelta.
That means it’s up to you to transform the Google Maps viewport values into props that the react-native-maps MapView region can use.
Our team calculated the values for longitudeDelta and latitudeDelta by subtracting viewport’s northeast and southwest longitude and latitude values:
const latDelta = Number(response.data.results[0].geometry.viewport.northeast.lat) - Number(response.data.results[0].geometry.viewport.southwest.lat)const lngDelta = Number(response.data.results[0].geometry.viewport.northeast.lng) - Number(response.data.results[0].geometry.viewport.southwest.lng)
Then we set a new state for viewport at the same time that we set a new state for the searched location coordinates. These four fields together get used by MapView’s region prop to determine the new map display:
this.setState({
        locationCoordinates: {
          latitude: Number(info.lat),
          longitude: Number(info.lng),
          latitudeDelta: latDelta,
          longitudeDelta: lngDelta,
        }
      })
Note that Google Maps returns latitude, longitude, and viewport data as strings. It’s on you to convert the data to integers that will work with your application fields.
4) Components should be siblings of MapView.
Most likely, you’ll want to customize your MapView display with additional components. To get additional components rendering alongside a functional map, MapView needs to be a direct sibling to all other components on page.
Wrapping the non-map components in their own View can block access to the map, making it difficult to scroll and zoom.
Here’s the nesting structure that worked for us:


Closing Thoughts
There’s an example app (iOS & Android) in the react-native-maps library, which shows off a number of features and the code behind them.
Since the set up for Xcode/iOS can be finicky, we recommend playing around with the examples on the Android build. You can also download the prebuilt version on Google Play Store.
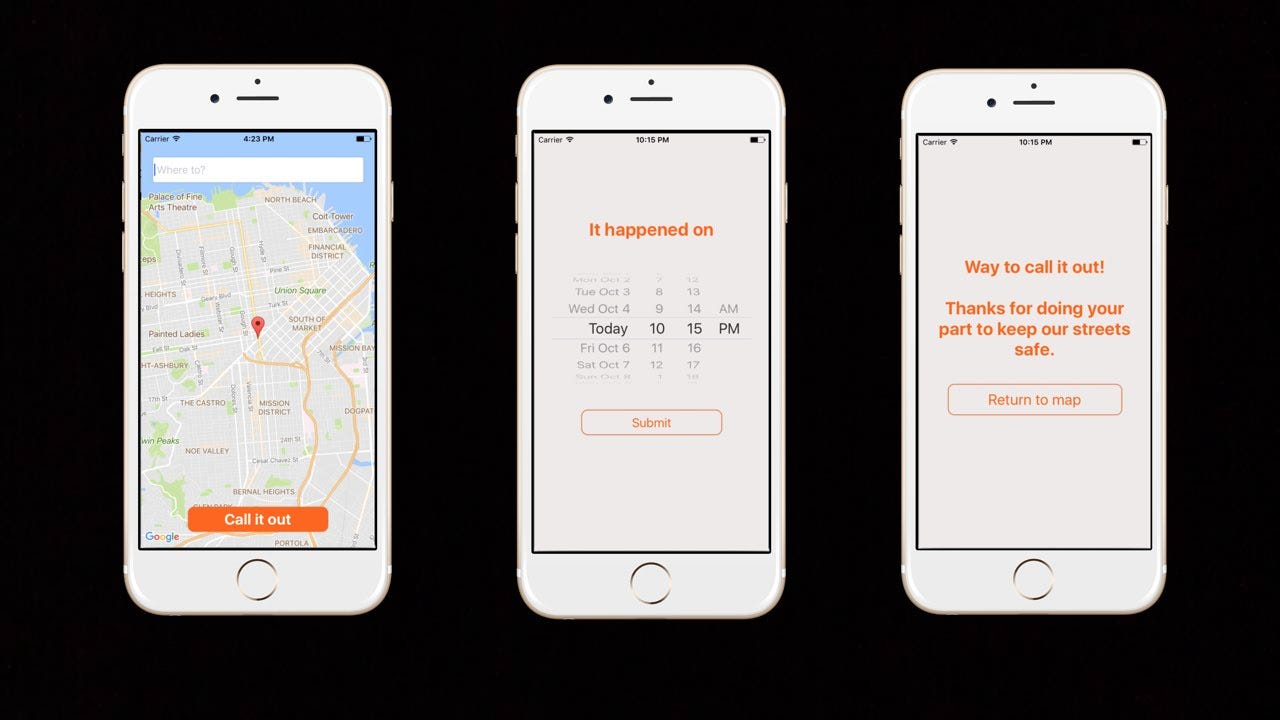
You’re also welcome to take a look at our project repo for CatCallOut here.
Thanks to Josh Leichtung and Dillon Arevalo for their feedback and edits.