Let’s make a website. Episode III – Your first page
Where it’s getting pretty serious.
Happy new year! Hope you’re doing well.
Theory is cool and all, but I think it’s about time we start writing some real code. This series is called Let’s make a website, not Let’s copy and paste code from the bestest blog in the world. Although I could consider renaming it.
Let’s do this (the website, not the name change).
Your first real page
Notes on design
Alright, let’s be realistic. It’s probably not gonna be pretty, cause I haven’t shown you how to add some amazing styling to your website yet. It’s an entire subject that we’ll study later.

So yeah, your first real page is gonna look terrible.
But it’s gonna be yours. Which I think is more beautiful than anything else.
The content
Why not try to recreate something similar to this article? Yeah, let’s do this! For this first page, we’re going to make a blog post, just like this one. But uglier! Oh yes.
Yeah you might start to get why I went into development, not sales.
Don’t worry! This project can seem daunting, but I know you can do it. I’ll guide you through all of the steps.
Code code codec*
*(slightly) funnier in French
We’ll open notepad, and write the base tags for the HTML code.
Remember them? Something like this:
<html>
  <body>
  </body>
</html>
Right now, if you try to save your file (don’t forget the .html extension) and open it, you’ll only get a blank page. Which is normal since we haven’t put any content yet.

A title
Let’s add a title. You actually know how to do this! That’s right, the <h1> tag.
<html>
  <body>
    <h1>Awesome blog!</h1>
  </body>
</html>
Ok, we got our title! Save your page and open it, and you should see it. Note that you could write any text instead of “Awesome blog!”.

Some paragraphs for good measure
How about a paragraph now? A blog post with only a title isn’t really exciting.
In HTML, paragraphs are written with the tag <p>. Let’s add one!
<html>
  <body>
    <h1>Awesome blog!</h1>
    <p>Hello, reader. This is my first post on this great blog. I hope you'll like it!</p>
  </body>
</html>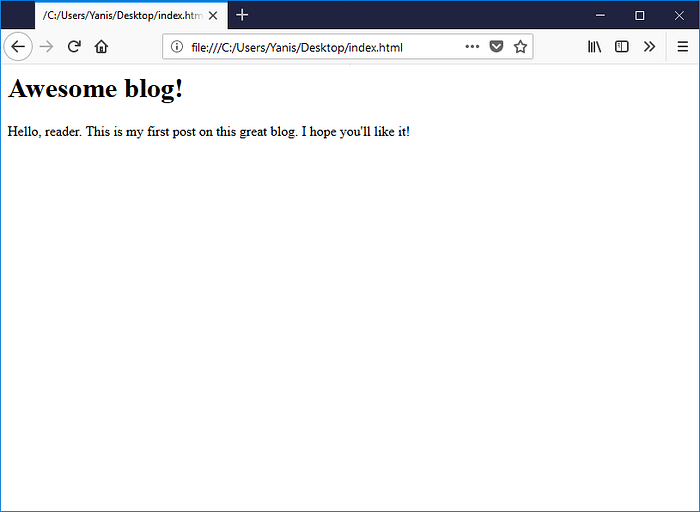
OK, that’s good and all, but how about a second paragraph? It’s actually really simple. Just add another tag!
<html>
  <body>
    <h1>Awesome blog!</h1>
    <p>Hello, reader. This is my first post on this great blog. I hope you'll like it!</p>
    <p>And since you like paragraphs so much, here's another one!</p>
  </body>
</html>
Let’s add some lists
And as we all know, every good blog post absolutely needs a list of 10 THINGS YOU WOULDN’T BELIEVE THIS 35-YEAR-OLD SINGLE MOM DID THANKS TO THIS WEIRD SIMPLE TRICK DERMATOLOGISTS HATE HER!!!!1!!1!1!
Also the #7 is gonna blow your friggin’ mind holy shit.
In HTML, you can create two types of lists: the ordered and unordered ones. As for the difference between the two, basically, an ordered list enumerates different things in order (e.g. a recipe), while in an unordered list the order doesn’t matter (e.g. list of countries in Europe). You create an ordered list with the <ol> tag, and you use the <ul> tag for unordered ones. Every item in the list (be it an ordered or unordered list) must be within an <li> tag.
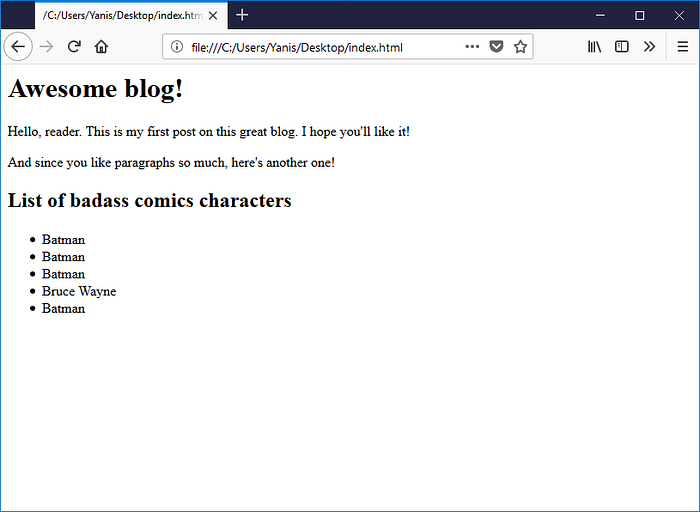
Let’s make an unordered list of badass comics characters. And while we’re at it, let’s add a title to this list!
<html>
  <body>
    <h1>Awesome blog!</h1>
    <p>Hello, reader. This is my first post on this great blog. I hope you'll like it!</p>
    <p>And since you like paragraphs so much, here's another one!</p>    <h2>List of badass comics characters</h2>
    <ul>
      <li>Batman</li>
      <li>Batman</li>
      <li>Batman</li>
      <li>Bruce Wayne</li>
      <li>Batman</li>
    </ul>
  </body>
</html>

OK. I can already hear you saying:
But wait you magnificient bastard, why did you put an
<h2>when you said at the beginning of the article that the titles are created with<h1>?
Did I really say something like that? Check the beginning of the article again.
*smug smile, proud of himself*
*has a moment of doubt*
*checks the beginning of the article just to be sure*
*realizes that’s actually what he wrote*
*hopes readers are not really gonna check the beginning of the article*
*pretends it never happened*

So yeah as I said before <h1> is just for the titles of the highest importance. Think of it as titles and subtitles in a document. In HTML, there are six levels of importance. You also have <h2>, <h3>, <h4>, <h5>, and <h6>. With <h6> being the least important. In a blog post, you could use <h1> for the article title, <h2> for the main part titles, <h3> for the sub-paragraphs titles, and so on.
How about some links?
Remember the previous article? In this one I said that HTML means HyperText Markup Language.
The tags that you’ve been learning are the markup part.
The hypertext part is simply the links that you can put on your page to give your visitor the ability to go on other pages.
You probably know what a link is already, but just to be sure, here’s a quick presentation: in a page, a link is basically some text that, when clicked, will make you go to another page.
For example, the famous Google search results are all links. And clicking this link will make you go to the Medium homepage.

In HTML, you create a link with the <a> tag.
<a>This is a link to the Medium homepage</a>
Alright. If you carefully read the few lines above where I explain what a link is, something might be missing. Can you guess what it is?
Yeah exactly. We got the text, but how do we tell the browser which page it should display when the link is clicked?
We need to add what is called an attribute to our <a> tag. I haven’t talked about them before to keep things simple, but I guess it’s time you learn about them.
They basically let you add more details to the tag you want to create, allowing you to give more meaning to it.
Since this explanation does not help at all, let’s translate that into code.
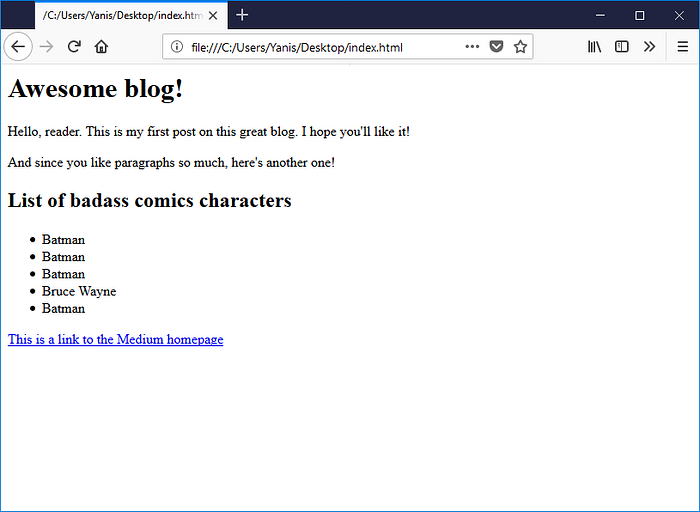
<a href="http://www.medium.com">This is a link to the Medium homepage</a>
See the new href thing? That’s an attribute. This specific attribute tells the browser where to go when a user clicks on the text from a <a> tag.
As for the syntax: you first specify the name of the attribute (in this case, href), followed by an equal sign, and the value of this attribute between double quotes.
Like this: name="value"

I know it must be confusing right now (if it’s not, well I’m proud of you!), and this is normal. We’ll have a look at many other attributes in the following lessons, and I guarantee you’ll understand them in no time.
Let’s add our new link to our page.
<html>
  <body>
    <h1>Awesome blog!</h1>
    <p>Hello, reader. This is my first post on this great blog. I hope you'll like it!</p>
    <p>And since you like paragraphs so much, here's another one!</p>    <h2>List of badass comics characters</h2>
    <ul>
      <li>Batman</li>
      <li>Batman</li>
      <li>Batman</li>
      <li>Bruce Wayne</li>
      <li>Batman</li>
    </ul>    <a href="http://www.medium.com">This is a link to the Medium homepage</a>
  </body>
</html>
And finally, images!
So you got text and all on your page and it’s really cool. But what if it’s 2018 and you want to add some cool images?
Well there’s your cliffhanger: we’ll see that in detail in the next lesson!
As a spoiler: if you want to have a look at it now, the HTML tag for images is called <img>. Who would have thought?
See you next time!
The next article is available here!
Note: This post is part of a series.
- Let’s make a website. (Episode I)
- Let’s make a website. Episode II — HTML
- Let’s make a website. Episode IV — Images
- Let’s make a website. Episode V — The code editor
- Let’s make a website. Episode VI — CSS
- Let’s make a website. Episode VII — Let’s make a Pokédex!
- Let’s make a website. Episode VIII — Intermission
- Let’s make a website: the JavaScript adventures.
- Let’s make a website: the JavaScript adventures — The variables
As usual, feel free to share this article if you liked it!

