Let’s make a website. Episode IV – Images
Where you acquire the sacred knowledge to put GIFs everywhere.
I’m back. And so soon after the last post. You’re welcome.
This post will be shorter than the previous one, since we’ll only focus on one topic: images. In the last part, we learned a lot of new HTML tags at once. This time, there’s just gonna be one: <img>.
(Émile &) Images
A quick recap
Last time we said each other goodbye, our web site looked like this:

While it’s extremely beautiful in its current state, it feels like it’s missing something. If you just said “yeah a good sense of design”, you wouldn’t be wrong, but what we’re gonna add today are images.
You can see them everywhere on the web. For example, there’s an image right above this paragraph, showing what our web page looks like. When used in moderation, they can perfectly illustrate a paragraph or an idea. They can also make for a great page header.

Let’s find an image
We’re gonna add one to our page.
You can choose one of your images/photographs on your computer. Or you can find one on the web. There’s always Google Images, but as for myself I like to go on Unsplash for some quality photography. The photos there look great and are free to use. Here’s what I got:

Adding the image
From theory (mostly)…
Ok, you got your image on your disk, ready to add it?
First of all, you need to move it to the same folder as your .html file. All good? Perfect.
Now for the code itself. As I said earlier, we’re gonna use the <img> tag. You use it like this:
<img src="path/to/image.jpg">A few things here:
<img>is called a self-closing tag. This is because contrary to the usual tags like<h1>or<a>, it doesn’t have a corresponding closing tag (e.g.</h1>or</a>). Indeed, self-closing tags are not used to enclose and give meaning to content. They have meaning just by themselves.- Guess who’s back (back again)? Your old friend, the attribute. Here it’s
src. It basically tells the browser where to look for the image.
Let’s say your image is named great_photo.jpg. Here’s what it would look like in your code:
<img src="great_photo.jpg">Note that if you put great_photo.jpg in a folder called images on your disk (the images folder still has to be in the same folder as your .html file), you can tell your browser that the image is there by creating your tag like this:
<img src="images/great_photo.jpg">Why would you do that? Well right now you only have two files. But after a while you could have hundreds of them, and it will be much easier if your files are categorized in different folders.
…to practice
Alright! Let’s add our image to our existing code from last time.
<html>
  <body>
    <h1>Awesome blog!</h1>
    <p>Hello, reader. This is my first post on this great blog. I hope you'll like it!</p>
    <p>And since you like paragraphs so much, here's another one!</p>    <h2>List of badass comics characters</h2>
    <ul>
      <li>Batman</li>
      <li>Batman</li>
      <li>Batman</li>
      <li>Bruce Wayne</li>
      <li>Batman</li>
    </ul>    <a href="http://www.medium.com">This is a link to the Medium homepage</a>    <img src="images/great_photo.jpg">
  </body>
</html>
Here’s the result for me:
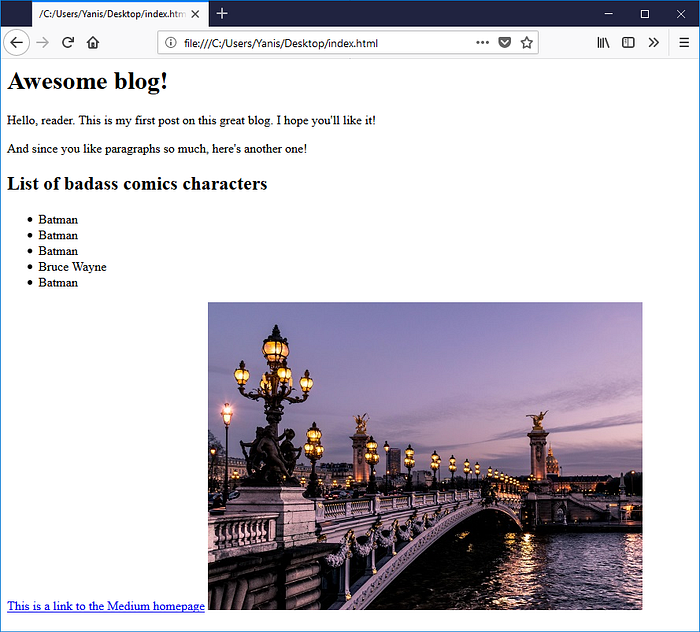
Sure the image appears on our screen, which is awesome in itself. But it’s weird cause it’s displayed on the right of our link. And there’s this whole white space on the left.
How could we fix this? If only there was a way to put this image in a new paragraph. It would totally solve our problem.
Any idea? :)

Yes! The <p> tag! We’re gonna put our image in a new paragraph. Just enclose your <img> tag in an opening and a closing <p> tags.
<html>
  <body>
    <h1>Awesome blog!</h1>
    <p>Hello, reader. This is my first post on this great blog. I hope you'll like it!</p>
    <p>And since you like paragraphs so much, here's another one!</p>    <h2>List of badass comics characters</h2>
    <ul>
      <li>Batman</li>
      <li>Batman</li>
      <li>Batman</li>
      <li>Bruce Wayne</li>
      <li>Batman</li>
    </ul>    <a href="http://www.medium.com">This is a link to the Medium homepage</a>    <p>
      <img src="images/great_photo.jpg">
    </p>
  </body>
</html>
The new result:
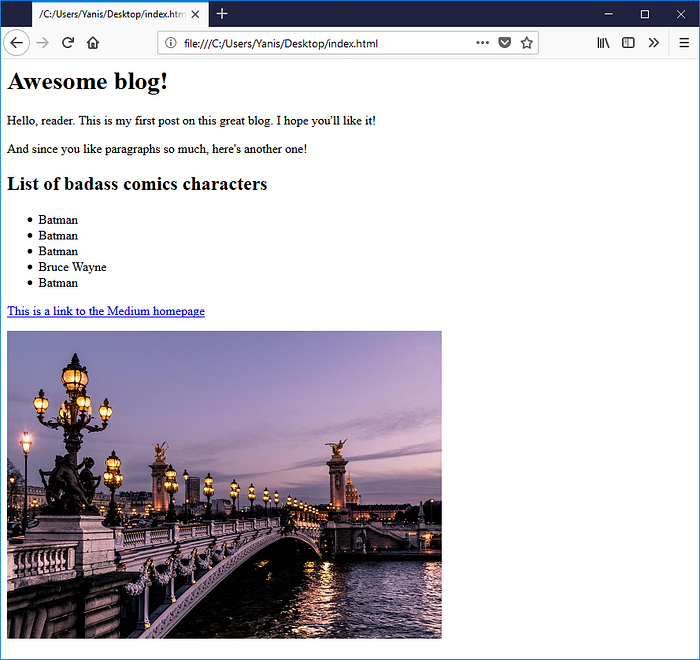
Wow! It actually looks pretty decent!
Going further
You now know how to add images to your web page. Feel free to add as many as you want!
As a bonus: did you notice that in our example, our image is a .jpg file? Well, what do you think would happen if you were to download a .gif file, save it in the same folder as your previous image, and type its name in the src attribute, instead of great_photo.jpg? I’ll let you check this out by yourself. :)

The next post will be a little different, kind of an interlude. We’ll talk about code editors. They’re there to help you write code more easily than with Notepad!
See you next time!
The next article is available here!
Note: This post is part of a series.
- Let’s make a website. (Episode I)
- Let’s make a website. Episode II — HTML
- Let’s make a website. Episode III — Your first page
- Let’s make a website. Episode V — The code editor
- Let’s make a website. Episode VI — CSS
- Let’s make a website. Episode VII — Let’s make a Pokédex!
- Let’s make a website. Episode VIII — Intermission
- Let’s make a website: the JavaScript adventures.
- Let’s make a website: the JavaScript adventures — The variables
As usual, feel free to share this article if you liked it!

